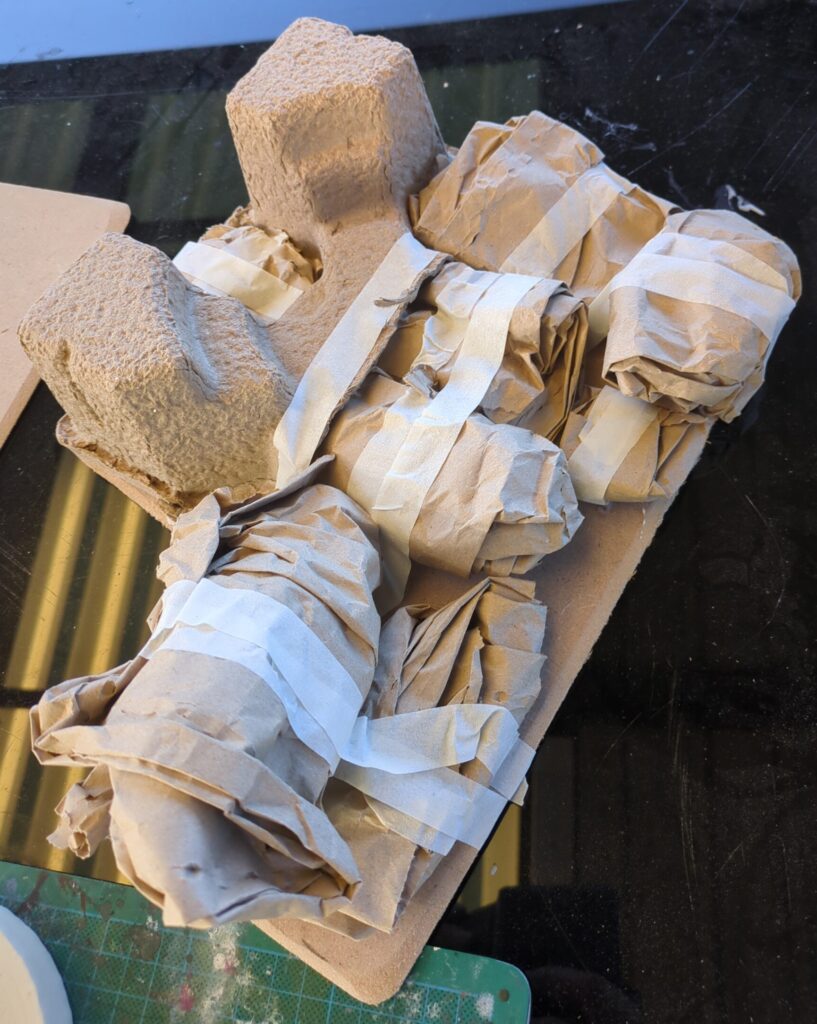
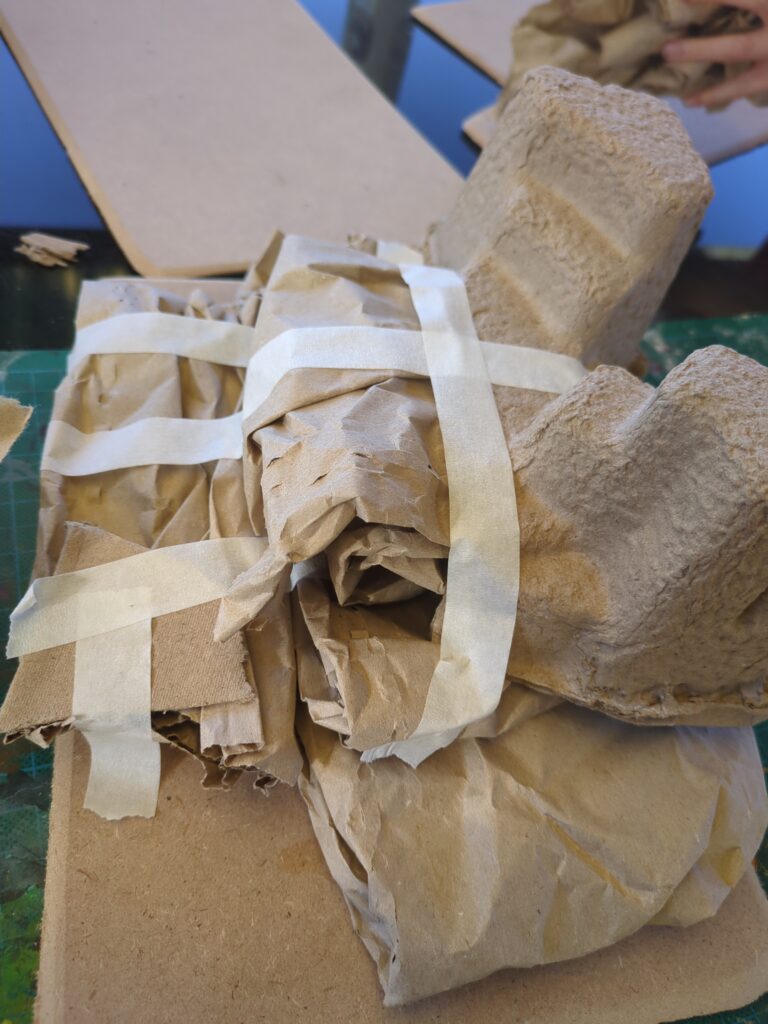
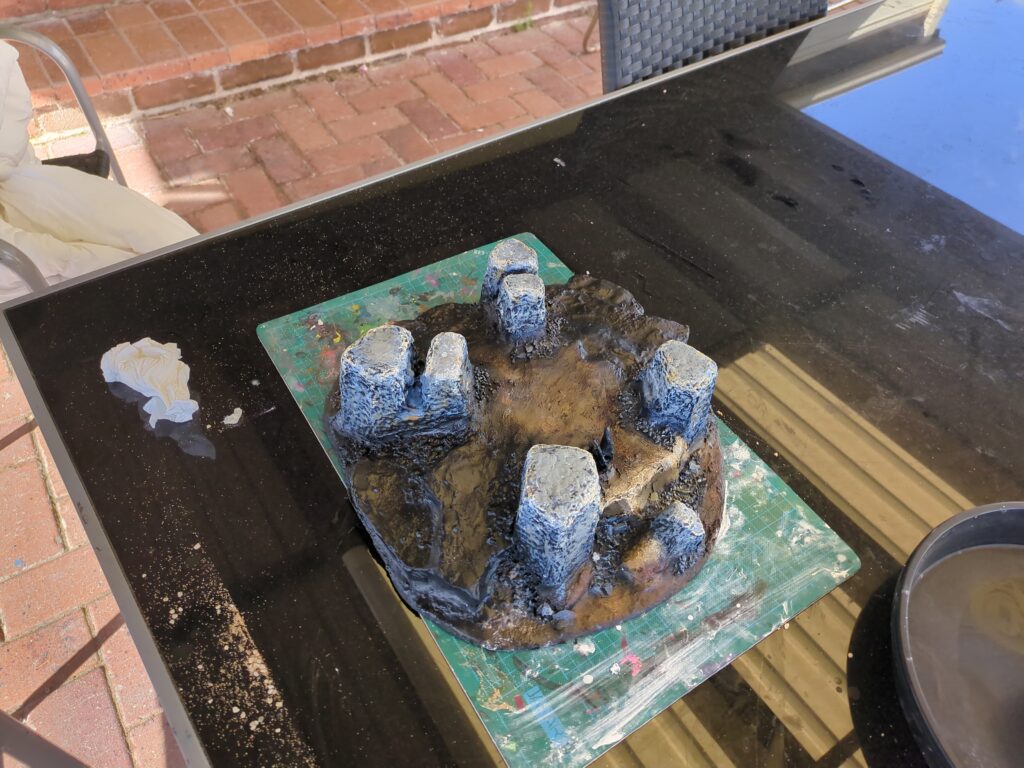
Apparently my last mountain project was enough to give my son a taste for terrain making, because he started asking to make some more. I quickly made up a couple of MDF bases and then we grabbed some spare packing paper and went to work.
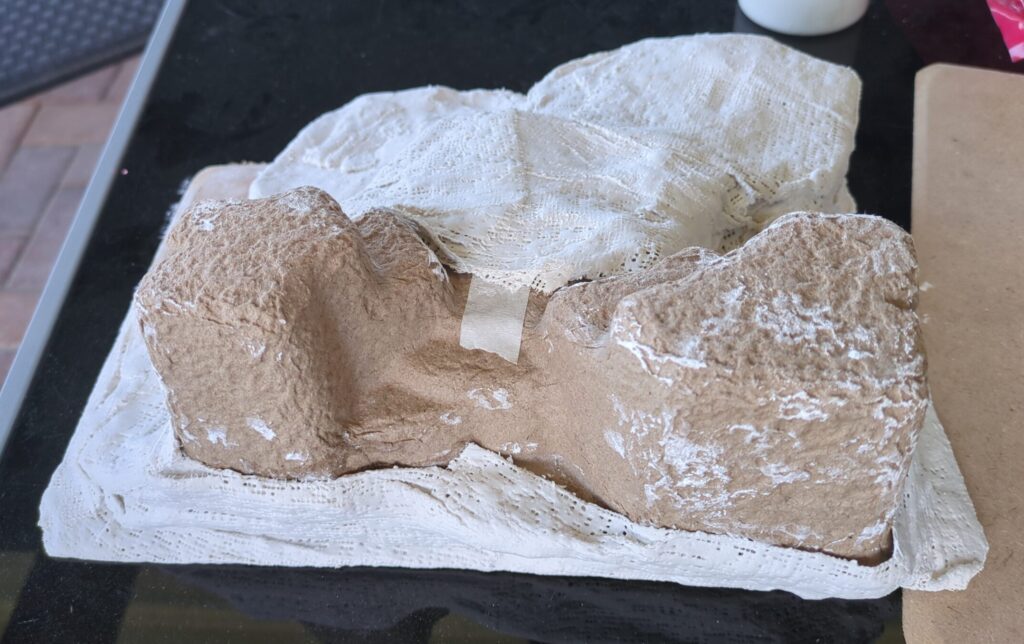
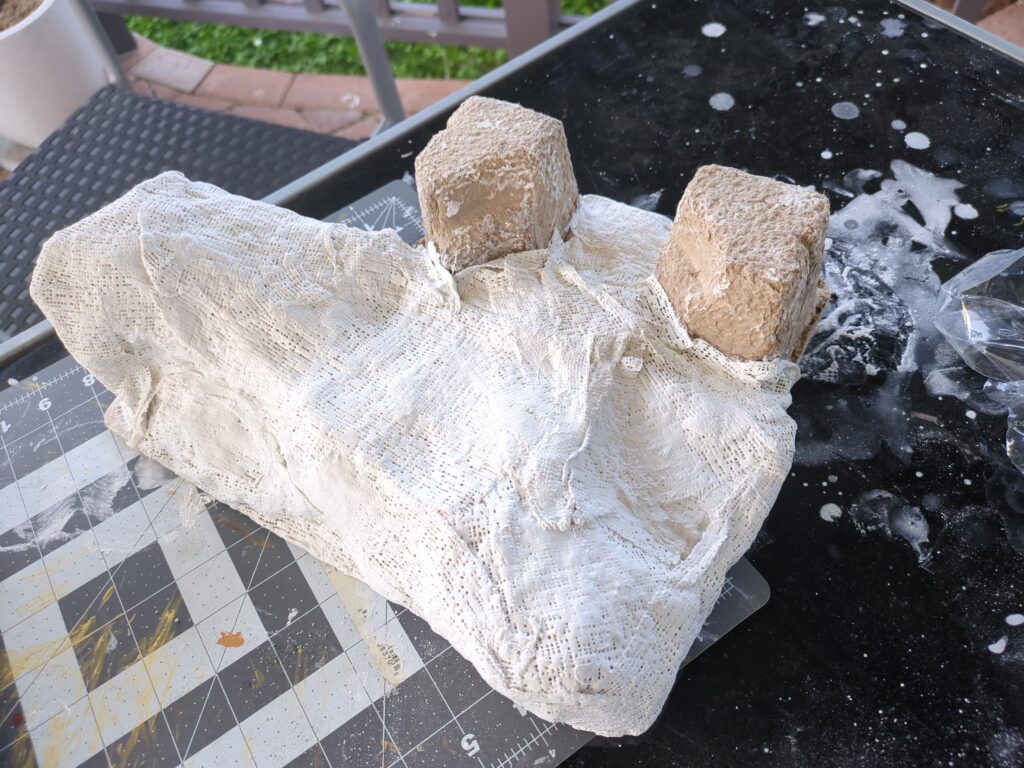
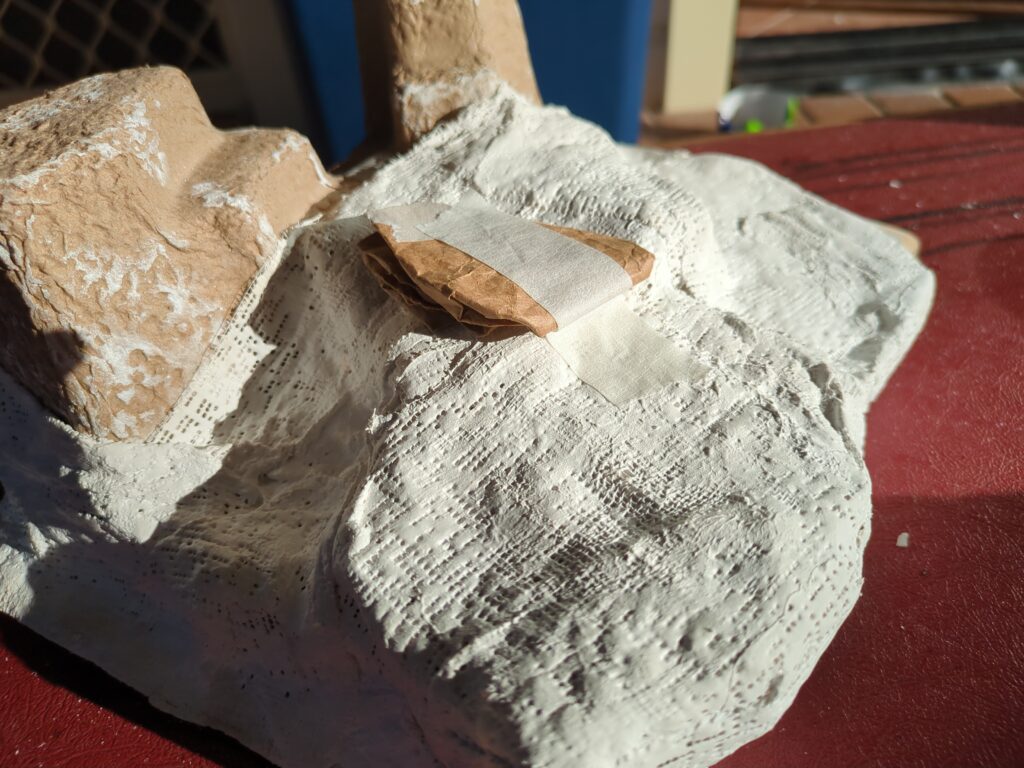
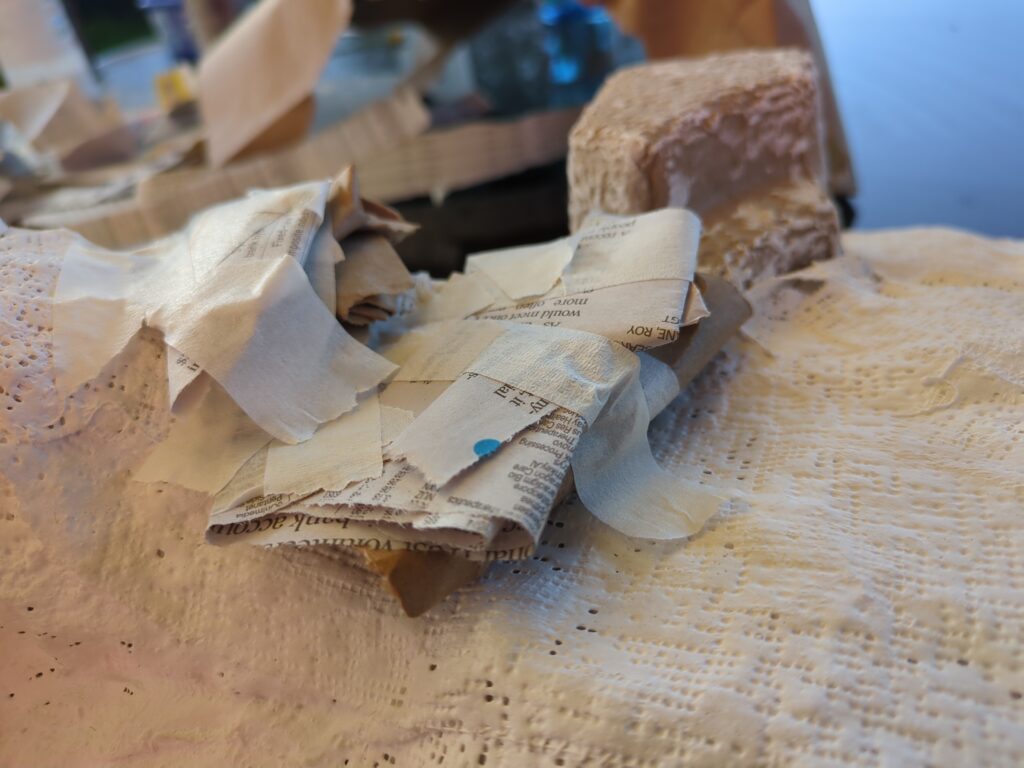
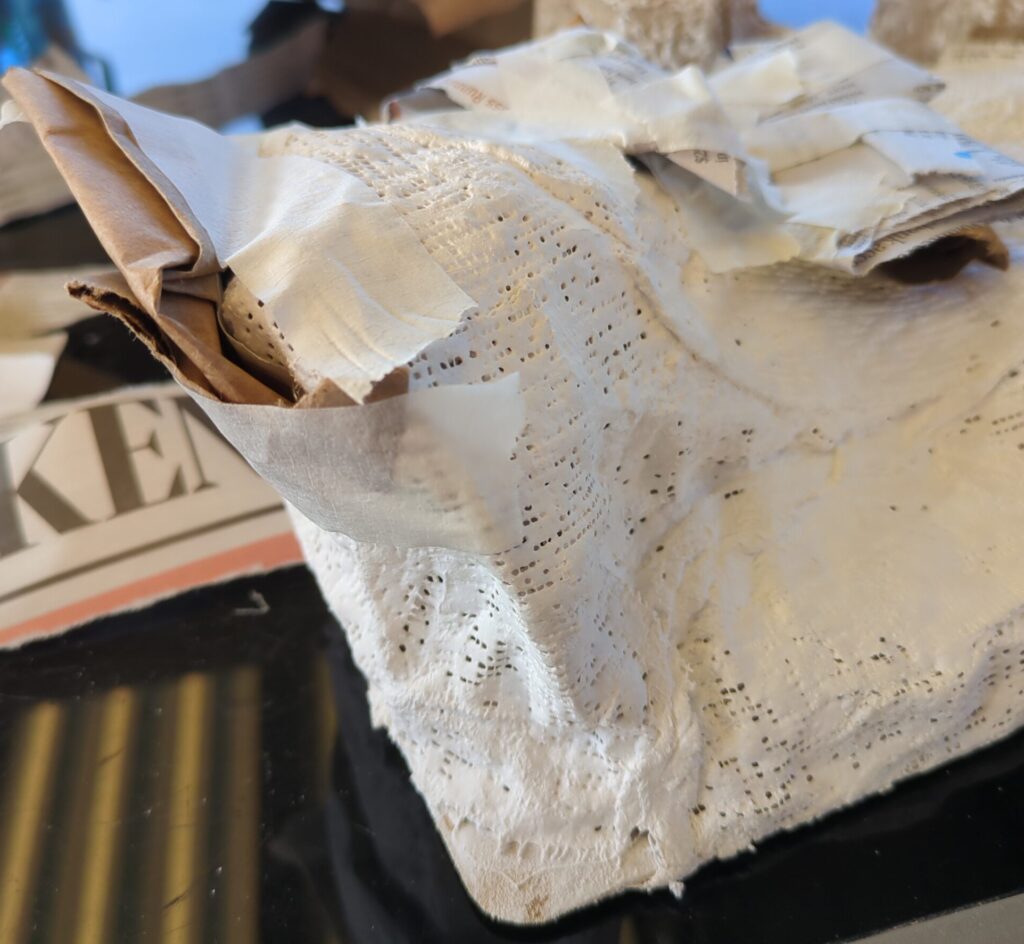
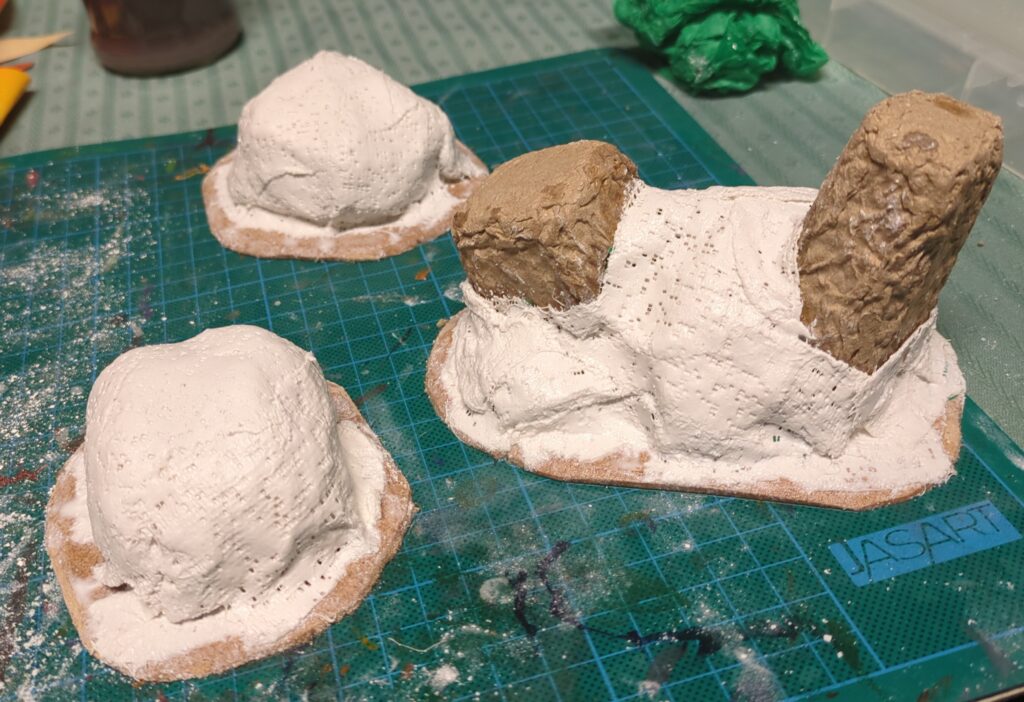
A rough shape emerged fairly quickly for both pieces, my daughter also got involved as well helping to cut bandages, soak them and lay them over the top to build up the initial form. It all made for a fun crafternoon.
We allowed everything to dry out before we looked at it figured out what we needed to adjust. Mine had a bit of a divot that needed correction and his had a bit of a steep slope that we decided to convert to a series of ledges (I did explain that this would work better for the games we plan to use this for).
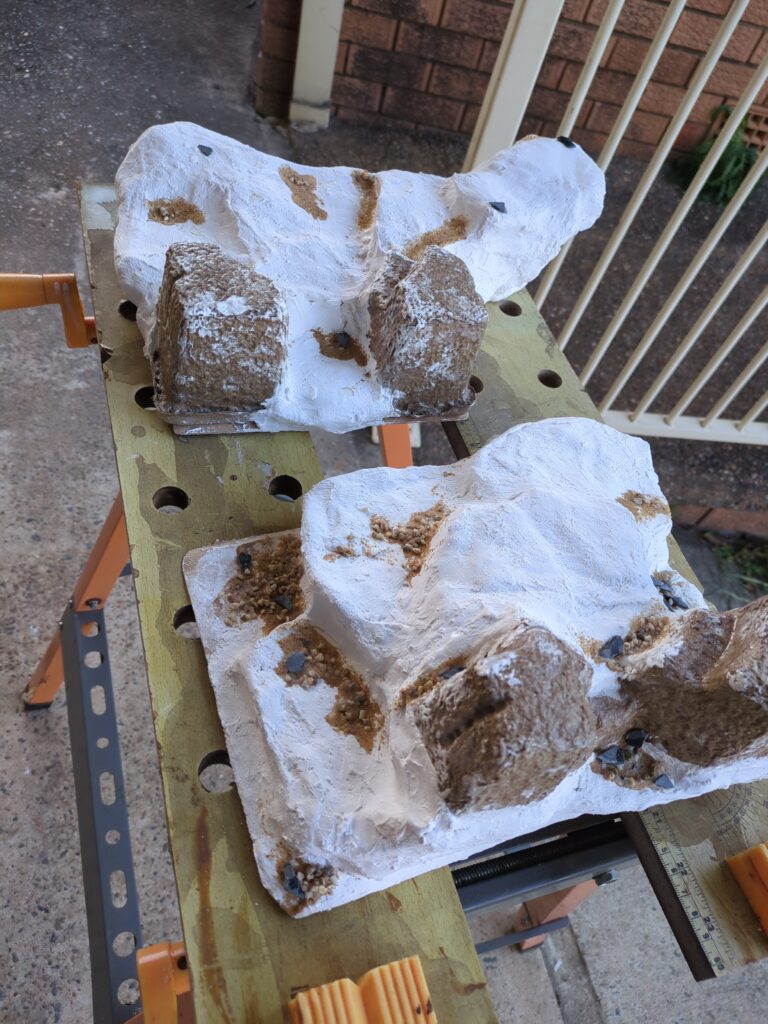
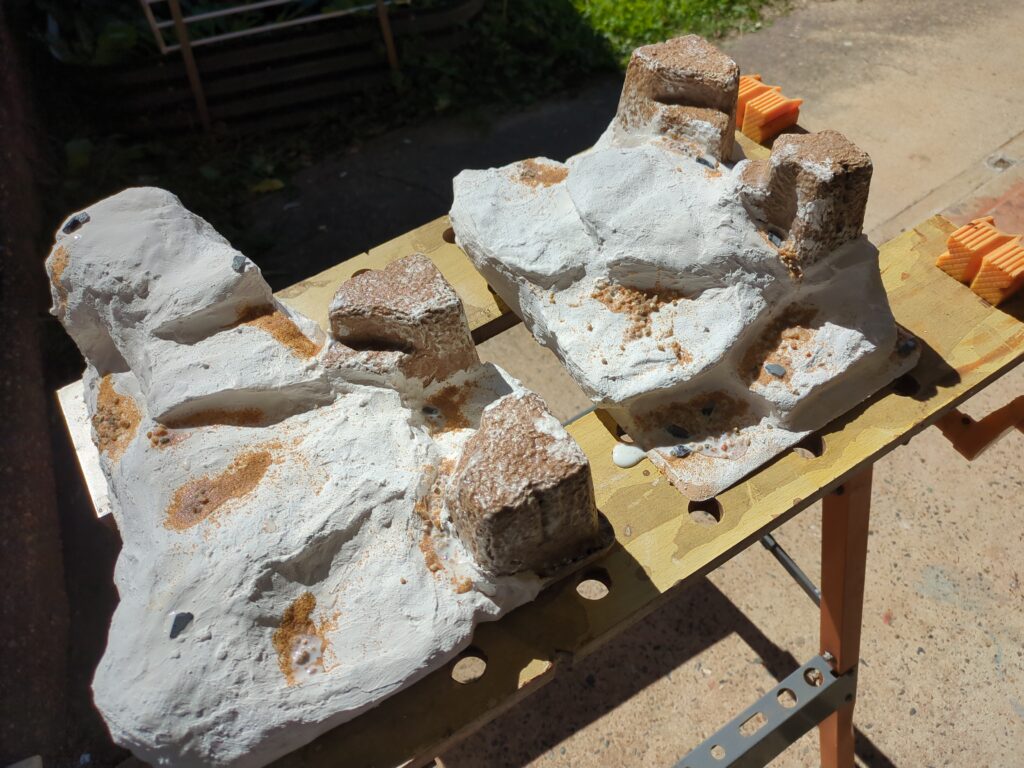
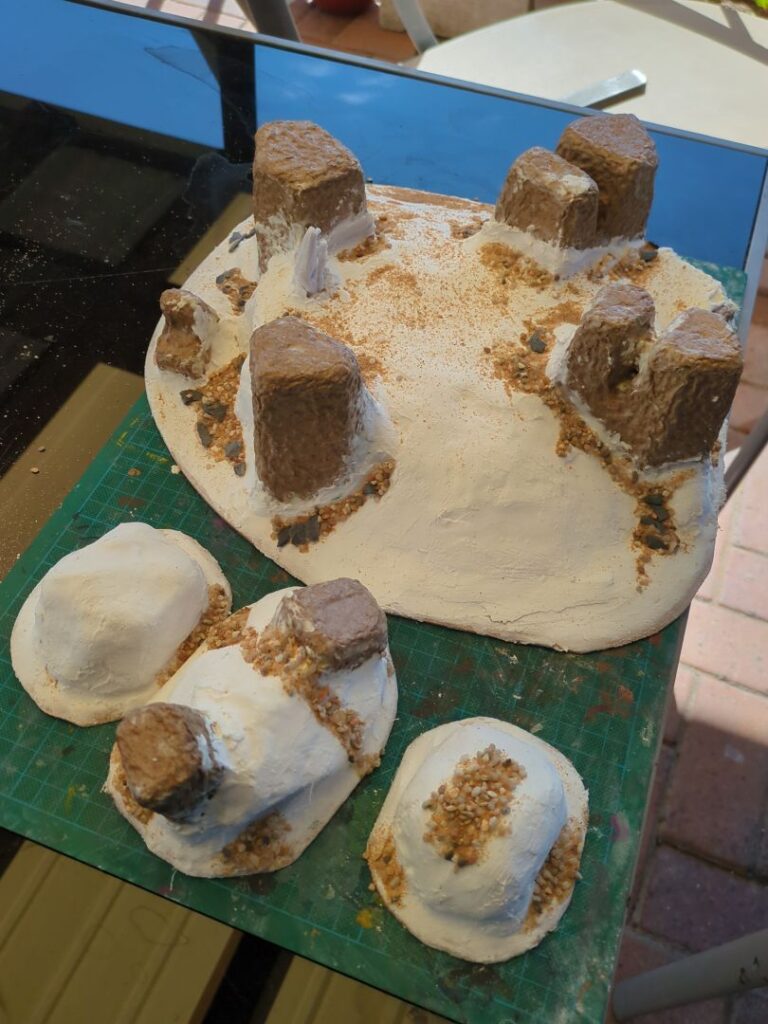
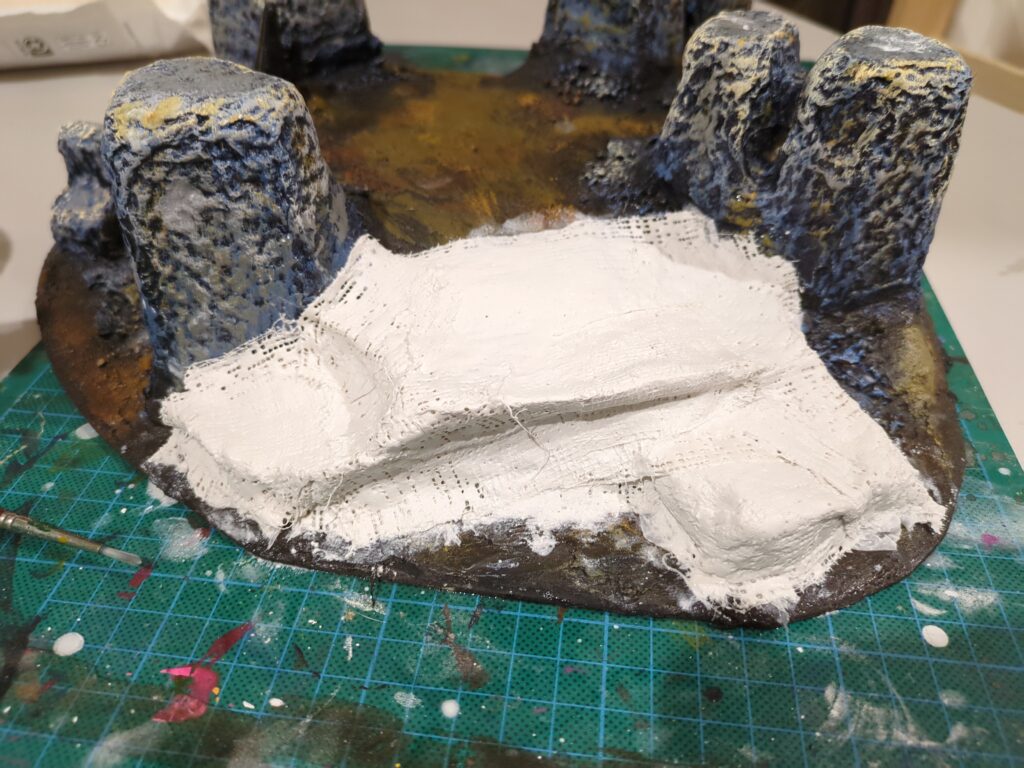
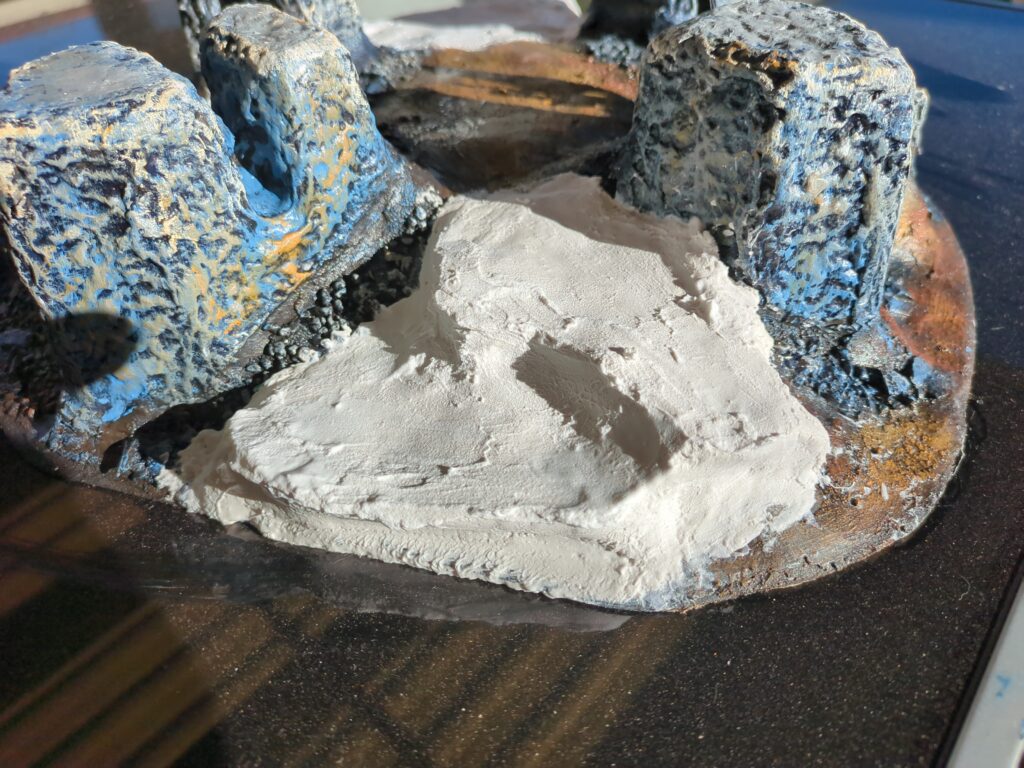
After adding some additional material to create the forms we wanted, we laid a second layer of plaster over the top and then started adding spackle to hide the gridded pattern of the bandages and replace it with a more rock-like texture. This was then followed by adding some rocks and sand with PVA to create the desired texture.
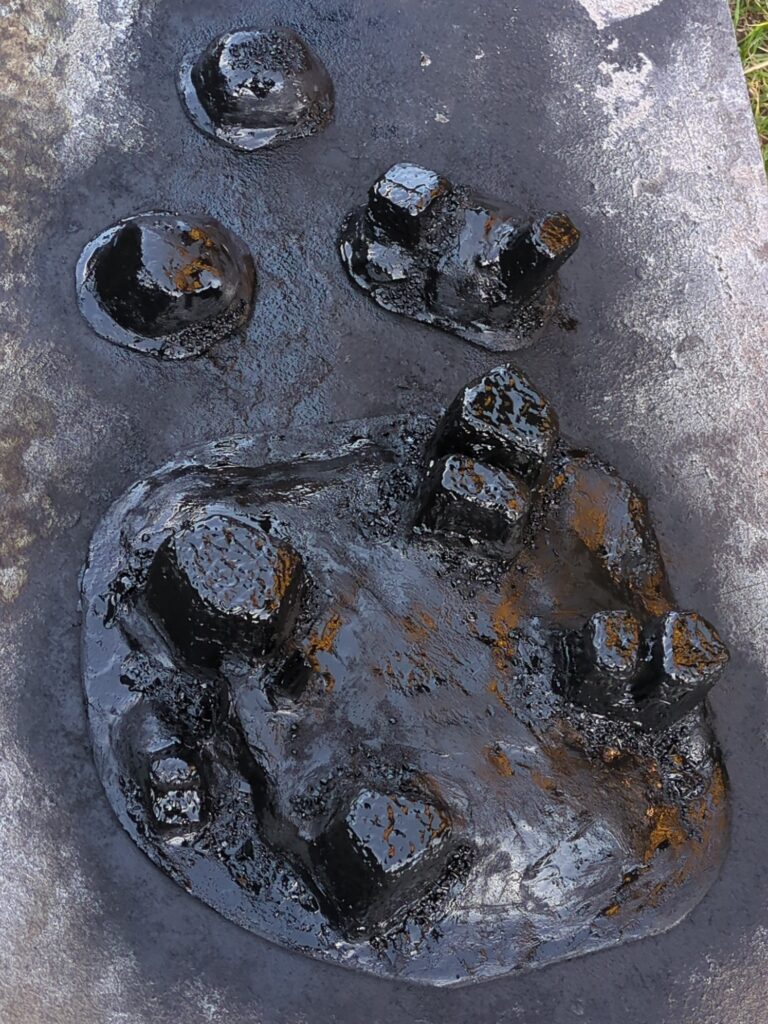
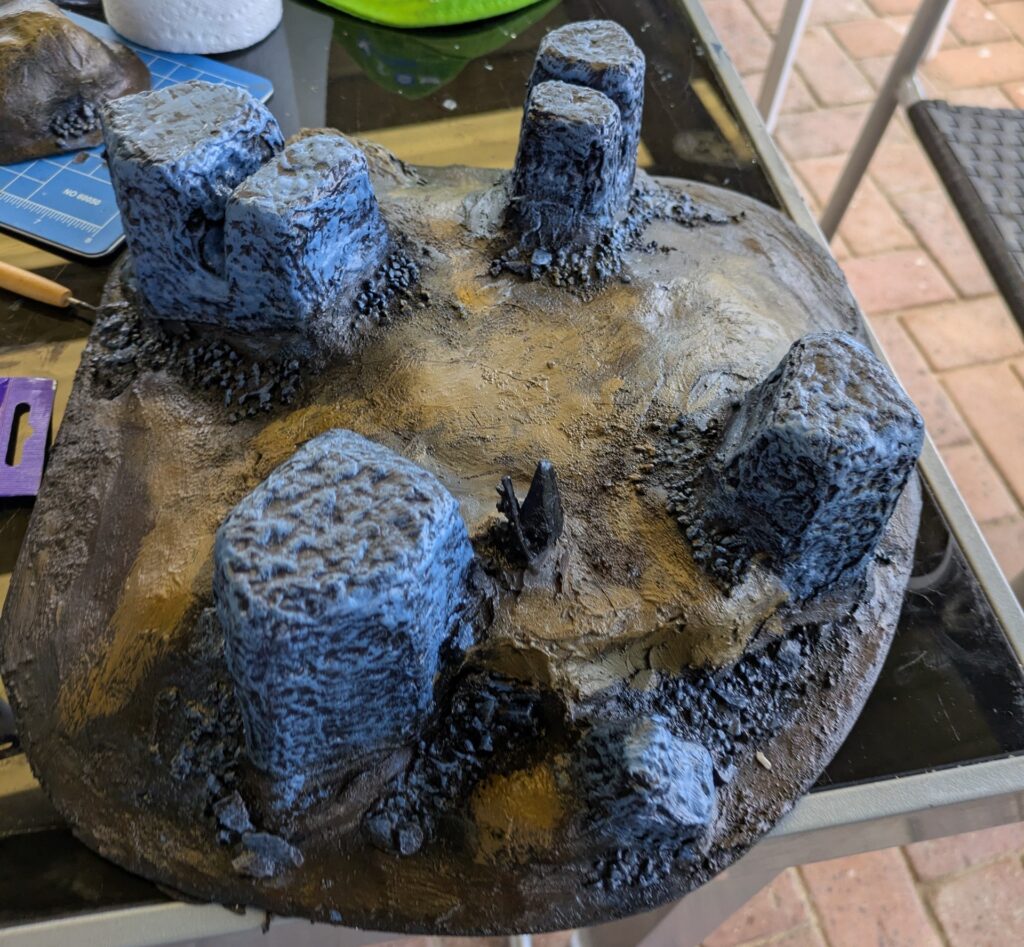
We then had to let everything dry before giving it a coat of black primer sometime mid week. He was eager to finish it so my initial plan was to paint them up on the Saturday but life didn’t afford us the time to do that. Instead, the painting became a fathers day project for the both of us.
Whilst I tried to explain my painting techniques as I went, I don’t think my explanation of dry brushing really managed to cut through. But he had fun painting his and was quite proud of the result, which means I’m definitely counting this as a success.
Awhile back, I stumbled across a Mel the Terrain Tutor video that shared a technique for using plaster bandages and spackle to make quite decent looking hill terrain. It’s a cool technique and I had some leftover packaging that had the potential to become something cool, so I decided to give it a try.
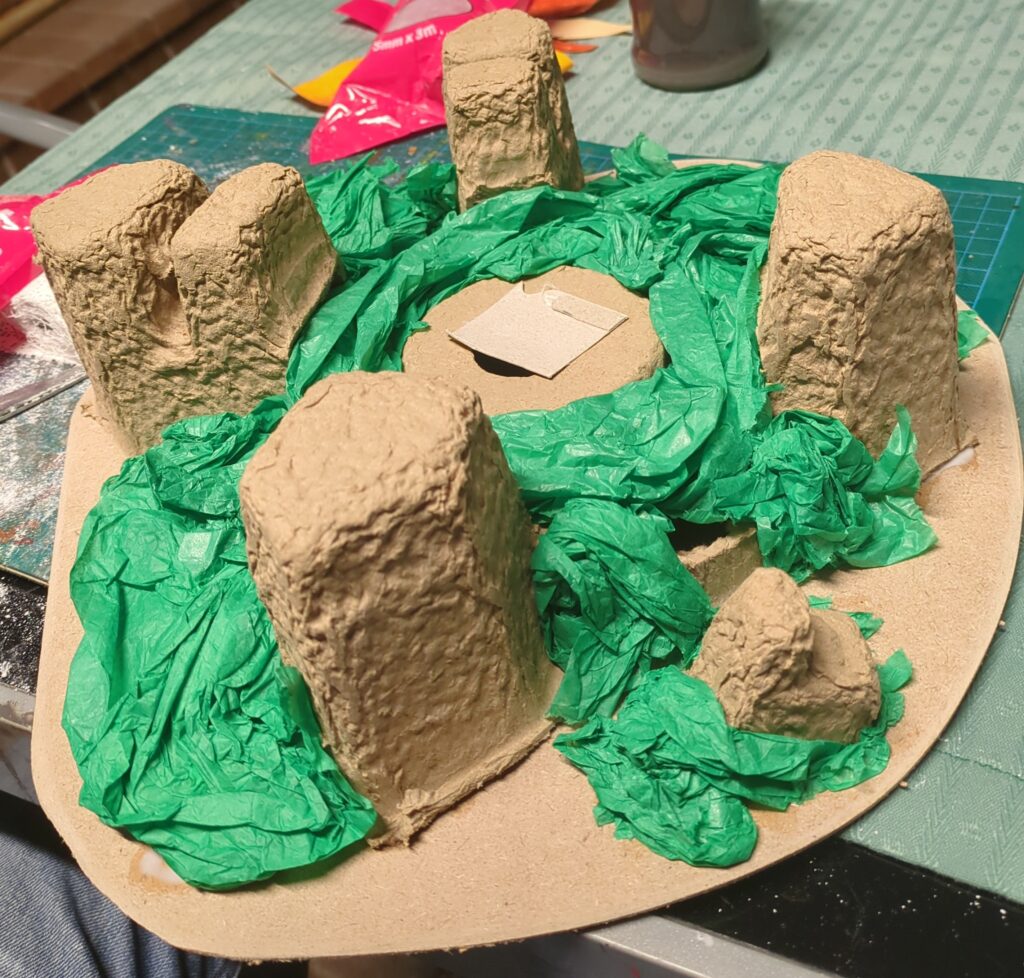
I started by cutting out some MDF bases and using a sander to add a simple bevel to the edges. I made sure I had a larger piece of MDF to use with a bit of packaging I had lying around looked like it had the potential to make a cool piece of ruins / mountain pass terrain. Some smaller bases were cut to make some smaller bits of scatter in the same theme.
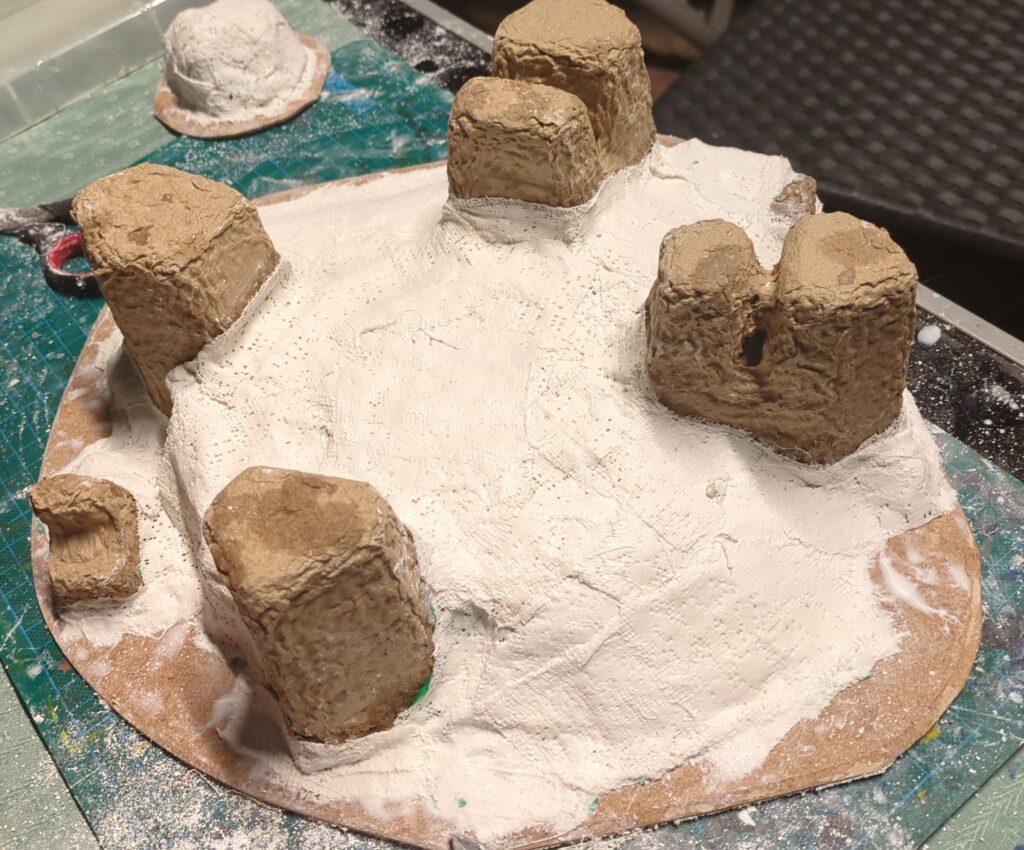
Since this technique is simple and safe enough to do with kids, I tried to make this a family project. My son helped a bit with laying some of the plaster bandages, and we had some fun creating the hills before he got bored and I finished the rest of the job on my own.
After this, the terrain was left of a shelf for a bit to cure, before it could be taken back down to add some details to it. My son and I added sand and rocks to create additional texture. I tried to add mine where I thought them most likely to accumulate on a real mountain, as well as near one of the smaller slightly collapsed monoliths to simulate debris. My son had a more orderly approach to laying down the sand, which I rolled with even if it didn’t look as natural as I was hoping for.
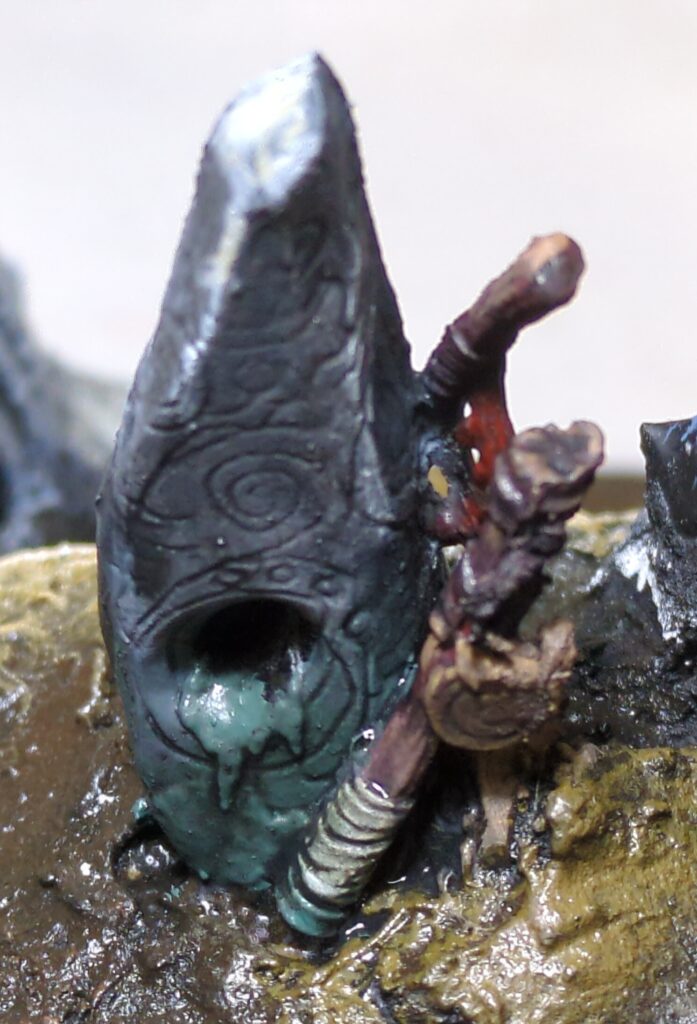
After I was satisfied with this, I added a cairn miniature that I had kicking around from an old Bones kickstarter to add a small bit of implied story before undercoating everything with a rattle-can.
First we add the details
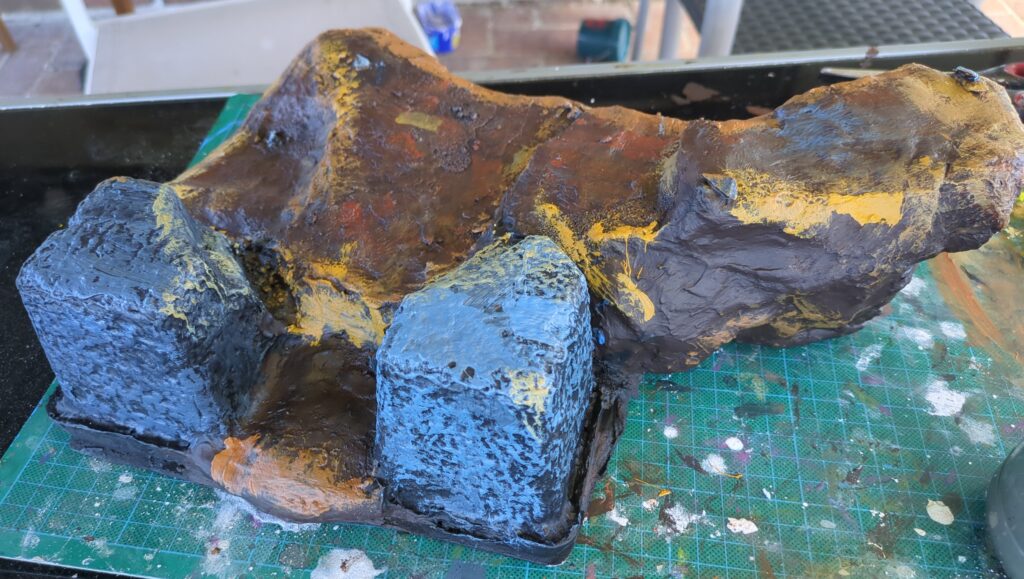
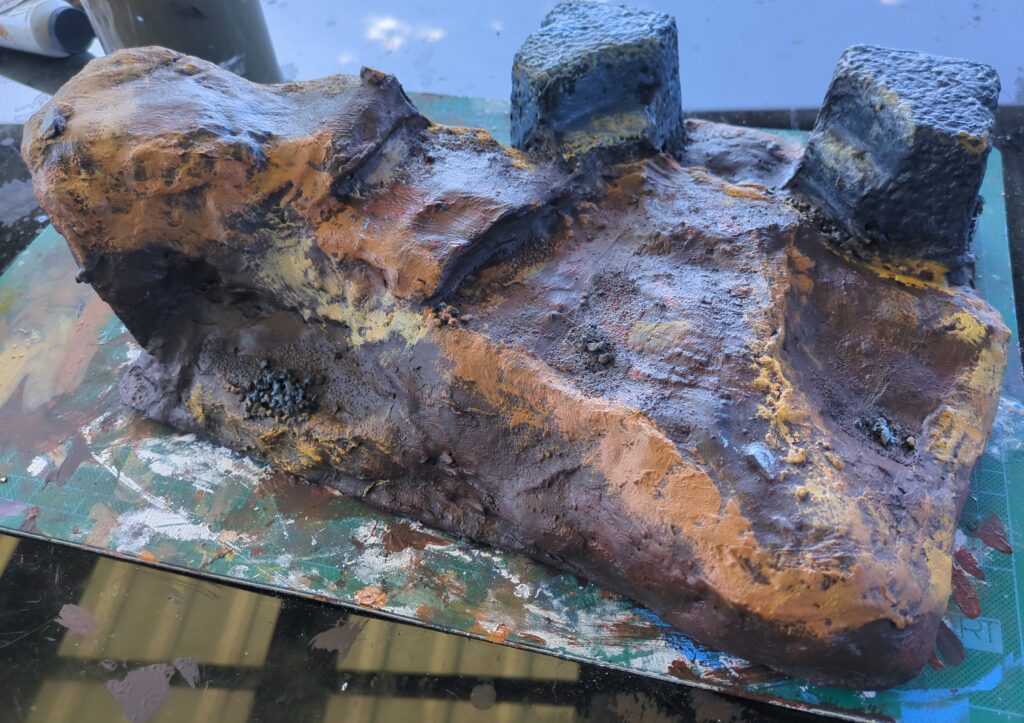
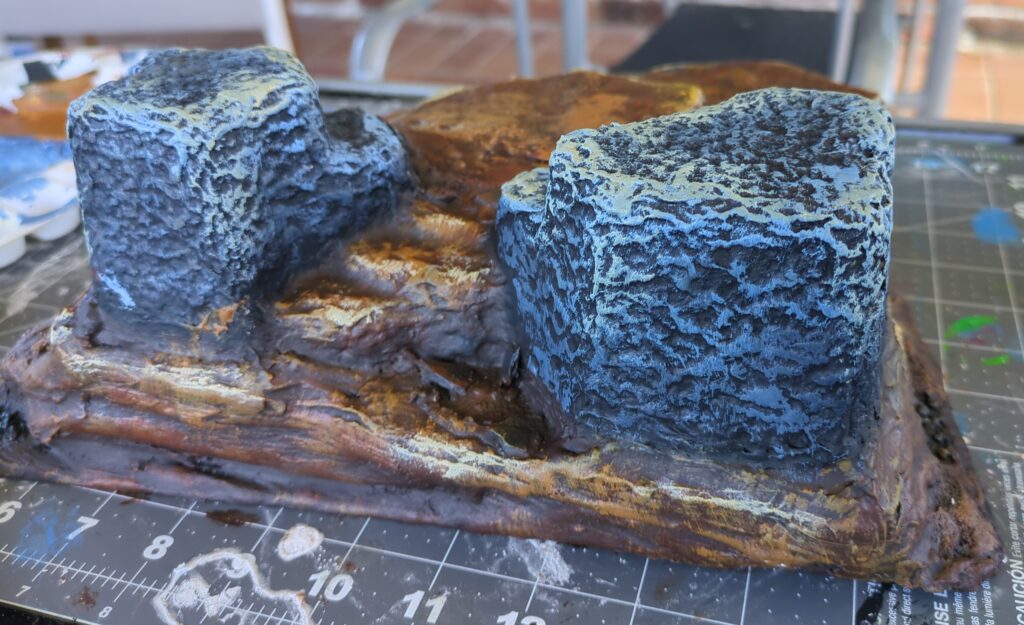
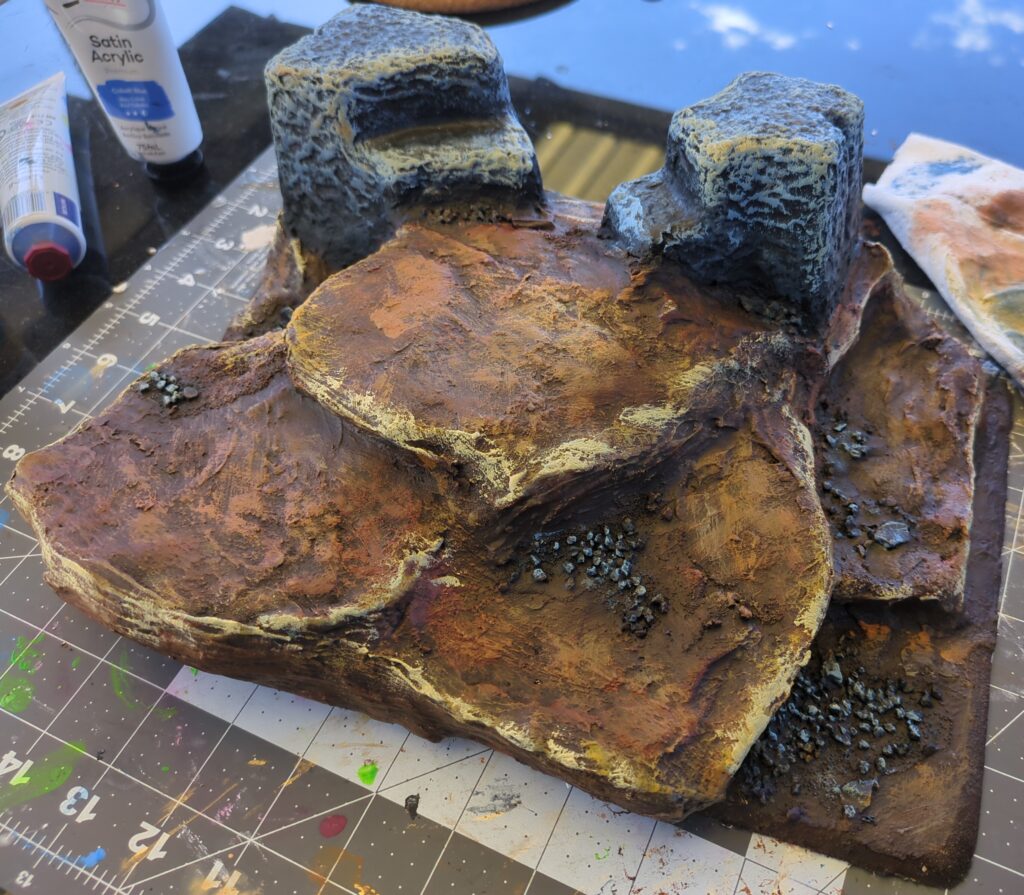
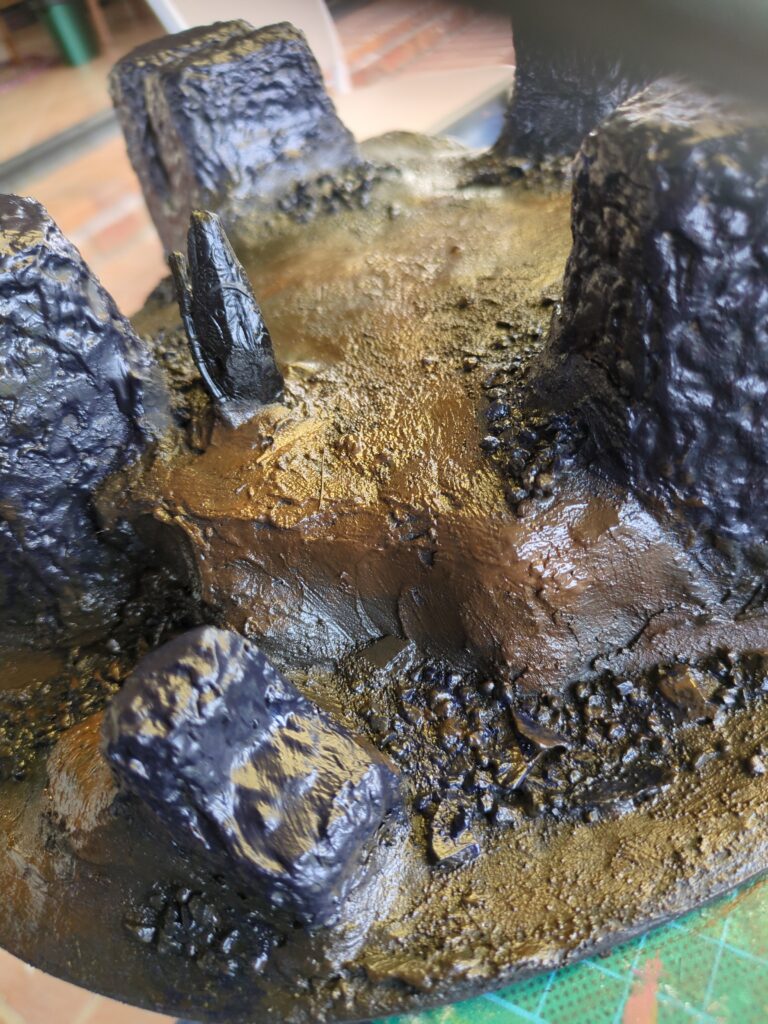
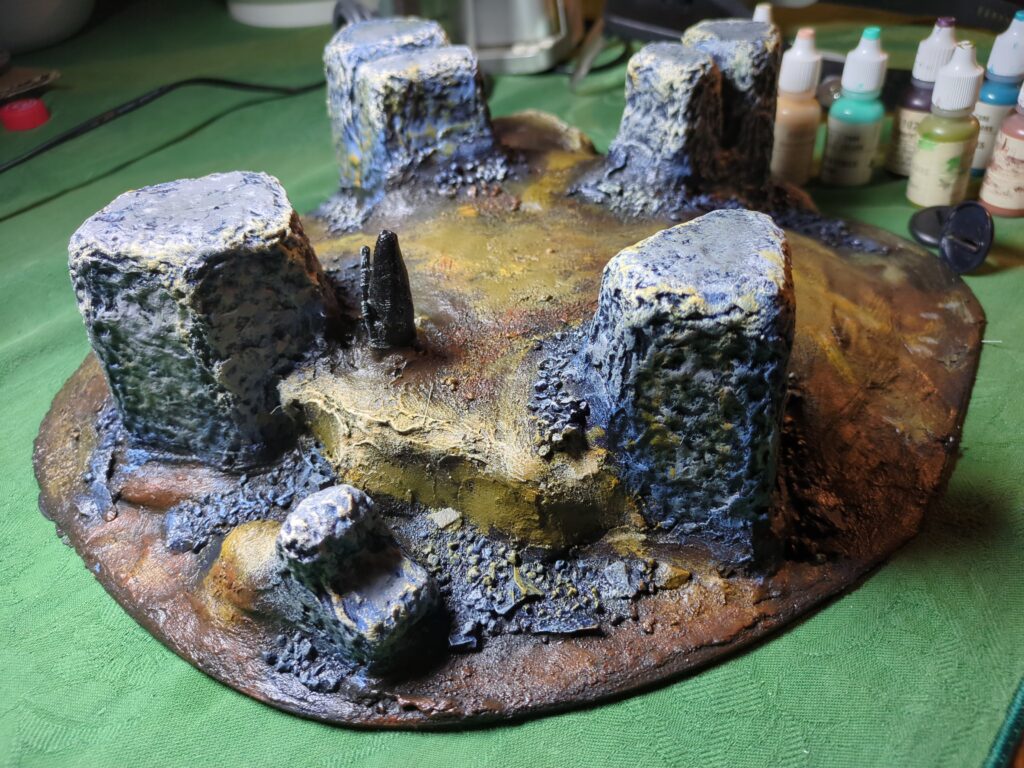
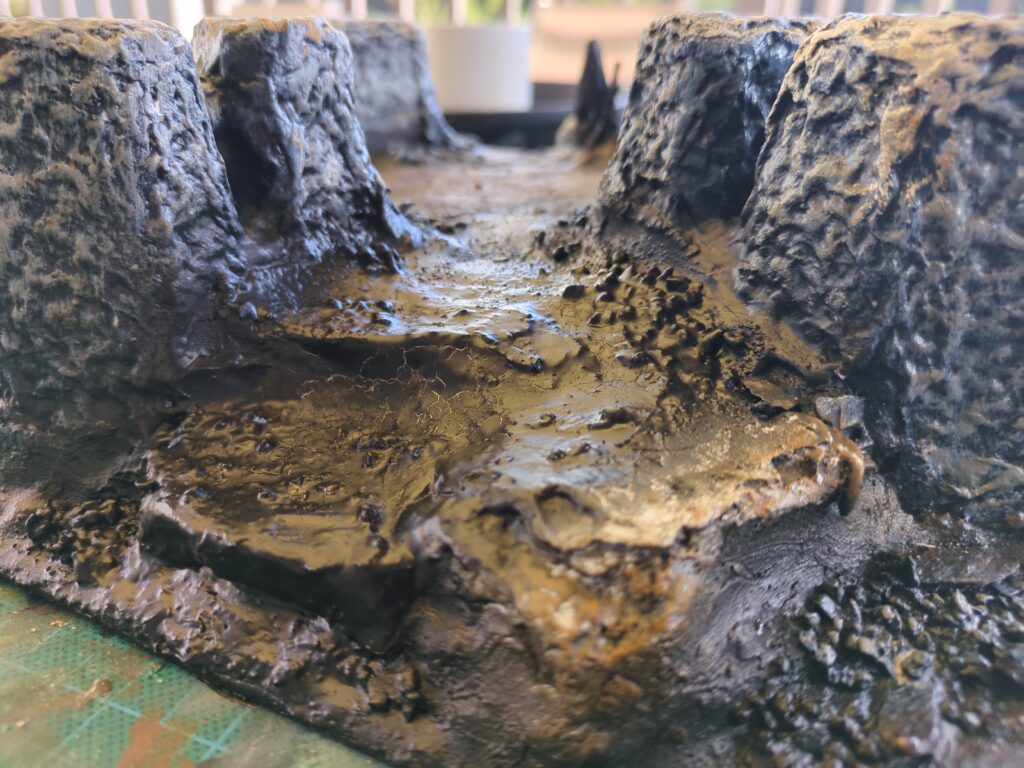
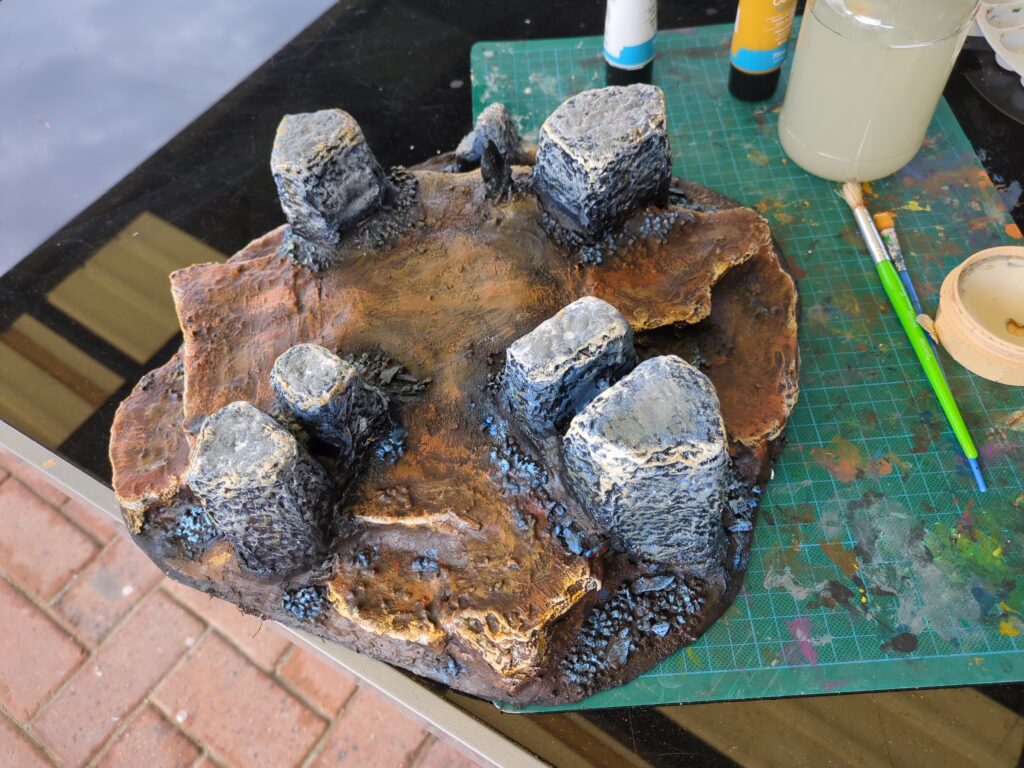
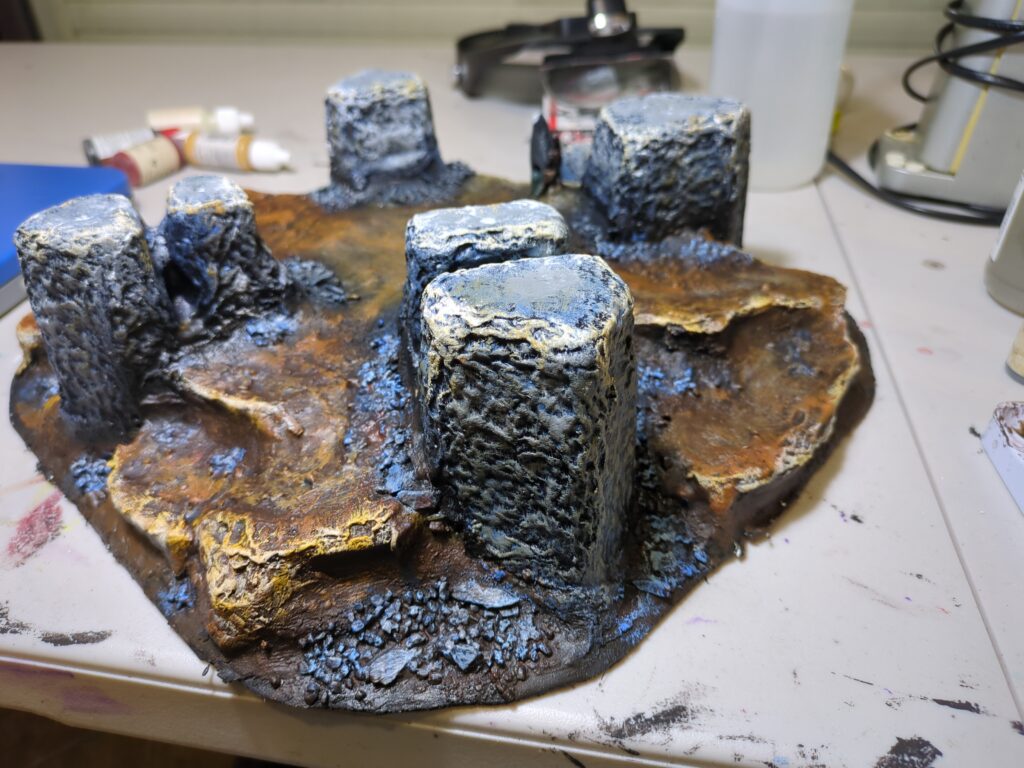
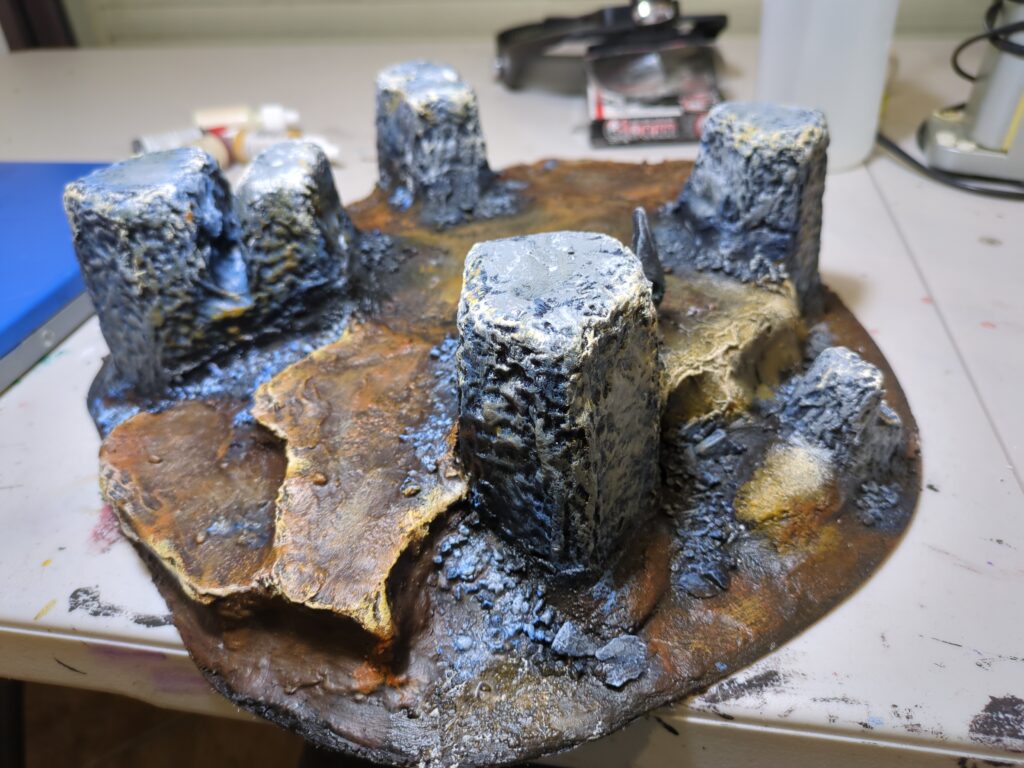
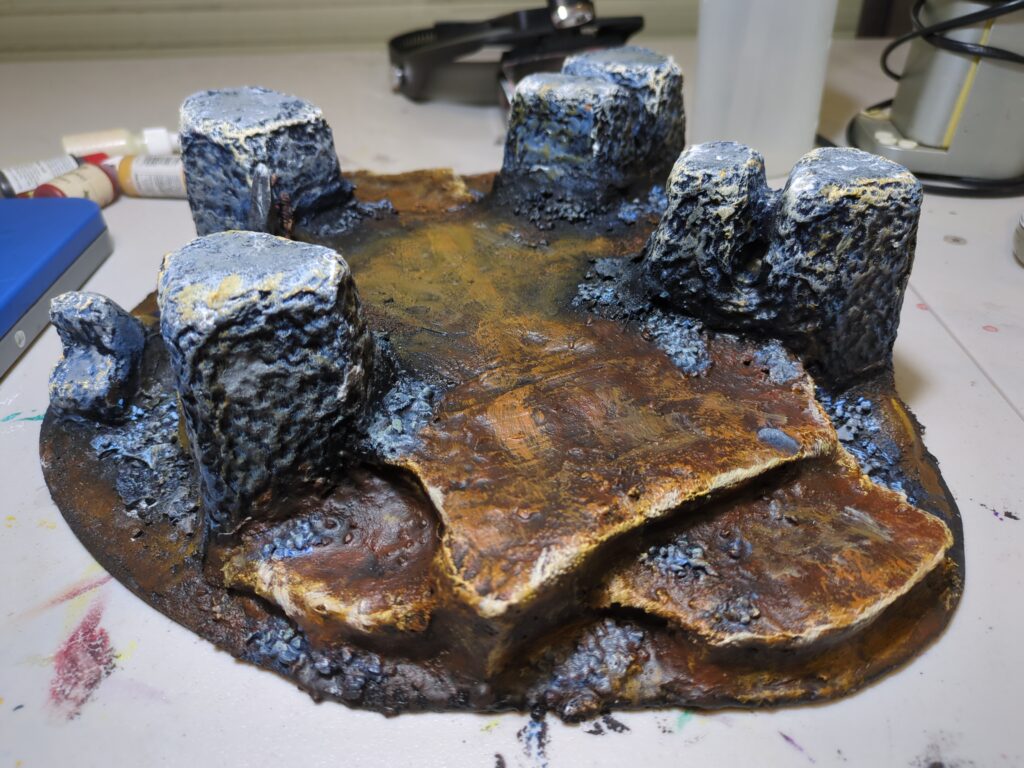
Due to just general busyness, the undercoated hills then sat on my shelf for about fourteen months before I was able to find time to paint them. The dirt was done by starting with Burnt Umber, the shading up through Burnt Sienna to Yellow Ochre using progressively lighter dry-brushing passes. Lastly a mix of White and Yellow ochre was added sparingly to some of the cliff edges to accentuate them a bit.
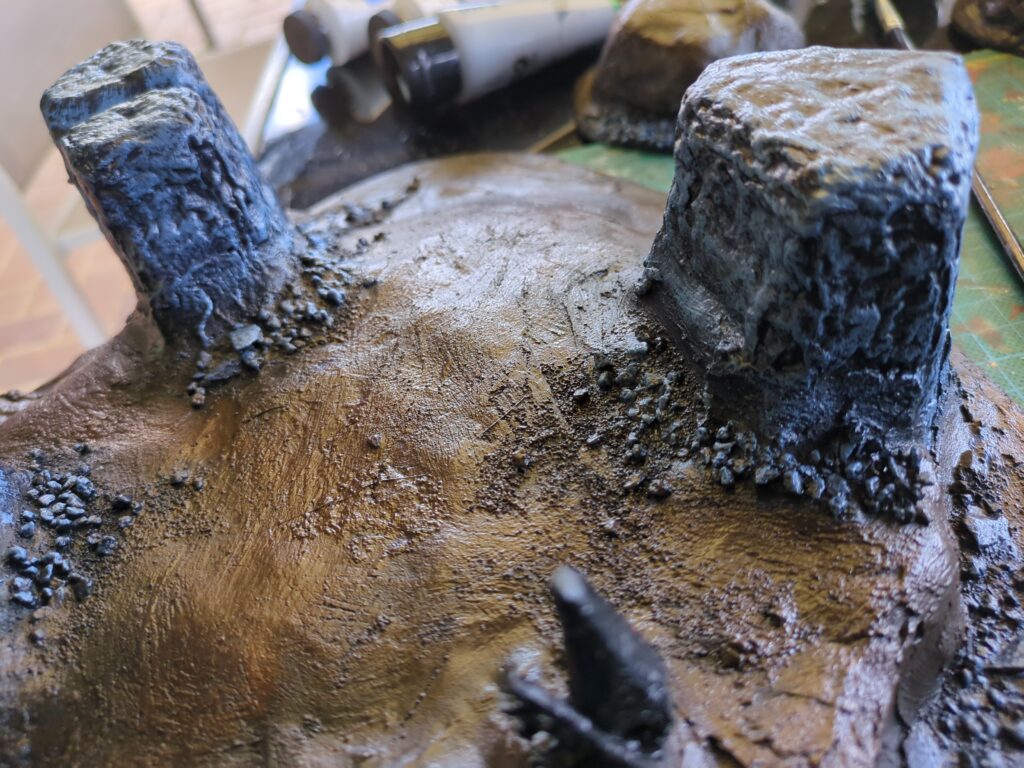
The rocks were done with a mix of Paynes Grey and Phthalo Blue, shading up through a mid grey / blue mix and then just grey. I used both Yellow Ochre and a pastel blue as the last drybrush colours, aiming for a bit of colour variation since these were meant to be stone after all. I used some cheap craft paints for this, picked up from a local newsagent. They worked fine, but I might make sure I grab matte paints rather than satin next time as the finish wasn’t what I was aiming for even if I was happy with the colours.
Starting with simple base coloursThe first round of dry brushing adds a bit of shadingFollowed by lighter tones to add more range and contrast.And the final colour scheme.
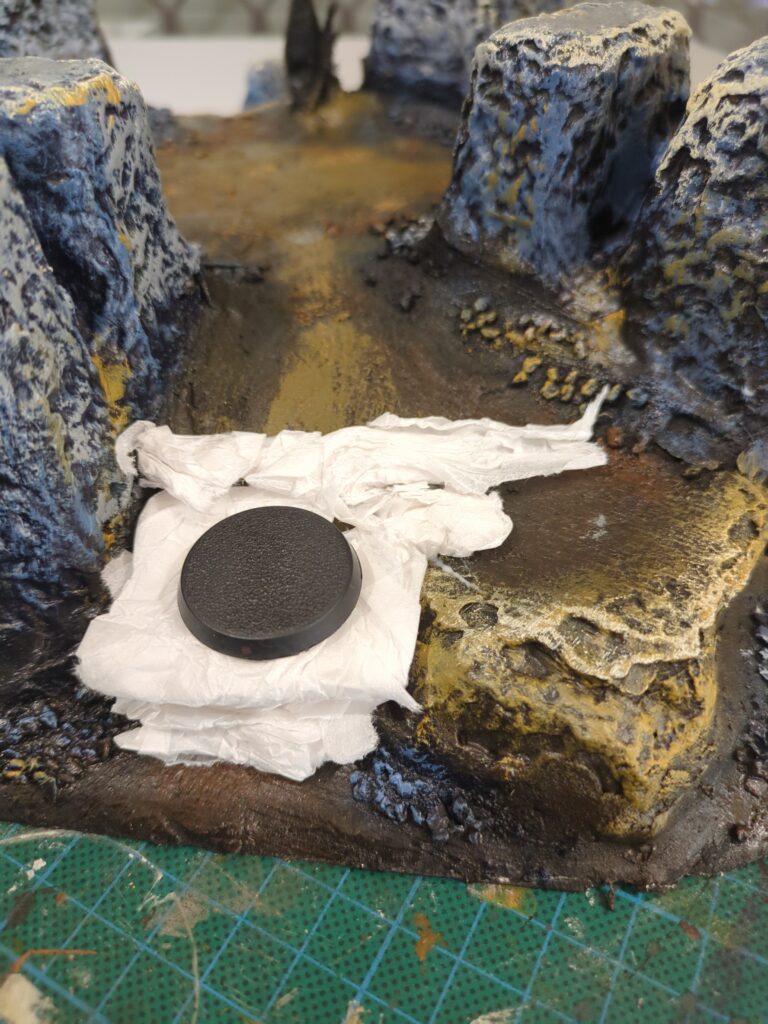
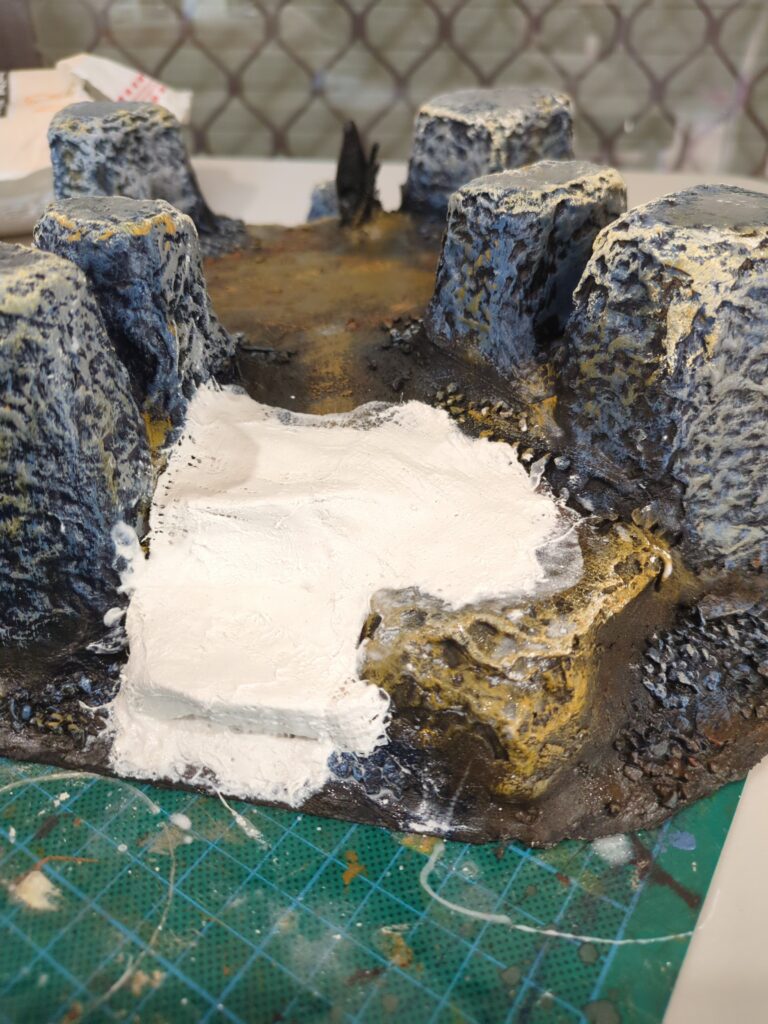
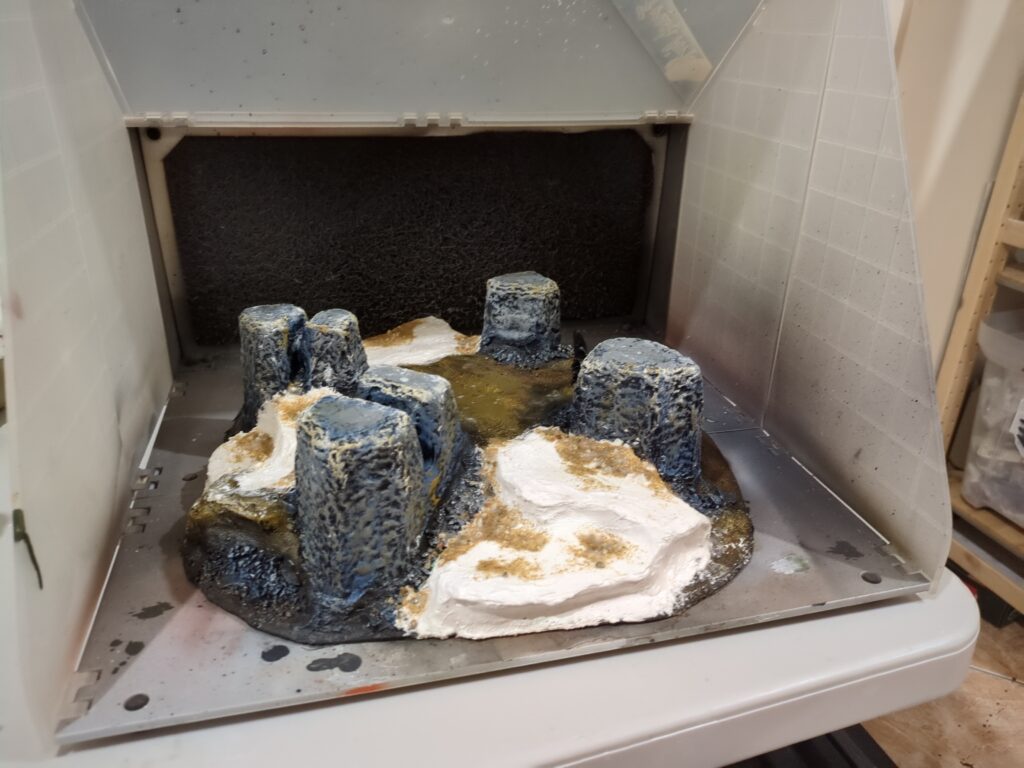
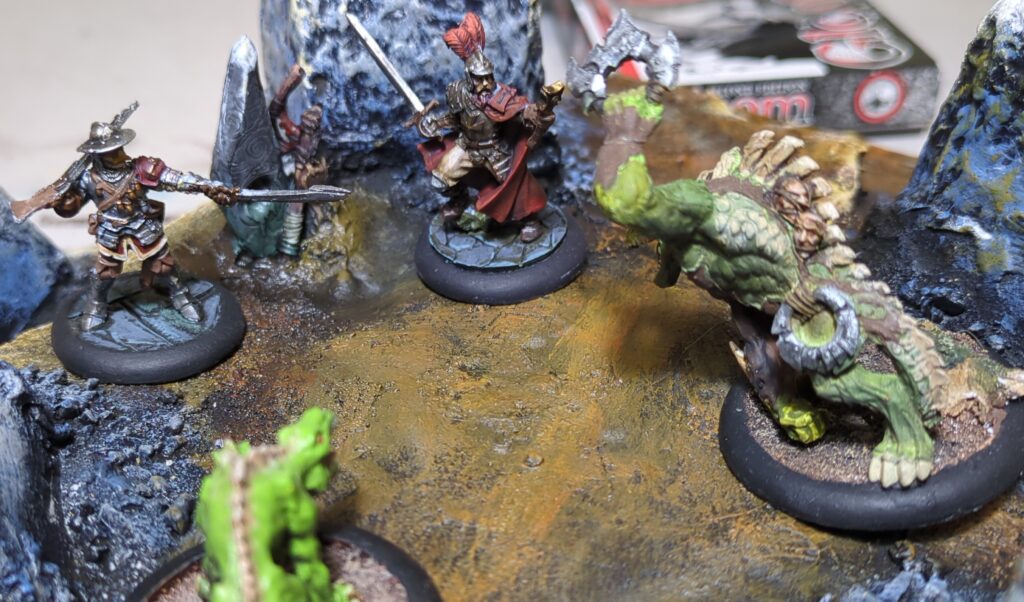
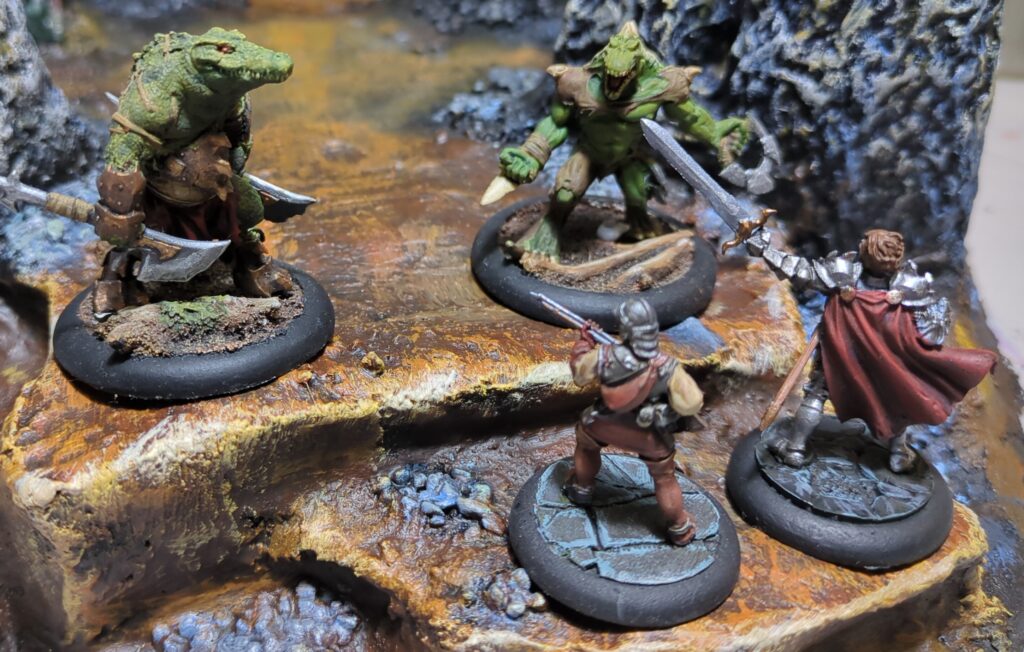
It’s at this point that I playtested the terrain with my son at this point using a simplified version of Age of Fantasy Skirmish (mostly the combat rules, we’re slowly building up to introducing the rest). It mostly worked OK as a terrain piece, but one thing that did come to light was that despite my efforts to avoid it, the slopes on most sides of the hill were a little bit too steep. Most figurines couldn’t stand on them as they ascended the mountain. So at this point I could call the scatter pieces done but I clearly have a bit more work to do on the mountain itself.
I built up a series of small ledges using tissues and plaster atop each slope, using a small base and a miniature with a 40mm base to test that the ledges were large enough and level enough for figures to stand on. Rocks and sand were added again to create details and the new plaster was primed black. I used an airbrush to prime it all this time, since that gave me enough control to avoid painting over the areas I’d already completed.
Once the primer was dry it was time to paint. It only took me a few months this time between priming it and putting it on a shelf and bringing it down to paint – see, I’m getting better.
I aimed for the same colours as last time, although I think the burnt umber does show through a bit more in the new sections. Still, I’m happy enough with the colours. The cairn finally got some colour added to it as well and with that it’s time to call it done.
Just a little over two years from start to finish, mostly because life is busy and it sat on a shelf for extended periods. Still. happy with the result and I’ll probably add more to this terrain collection over time.
This one is gonna be an older project. I originally posted these photos back when I was still on miniatures.photography (a now defunct pixelfed instance) and it was the first piece of terrain I ever scratch-built. Since that instance is no longer around, I’m posting it here so that it’s still somewhere to be found online.
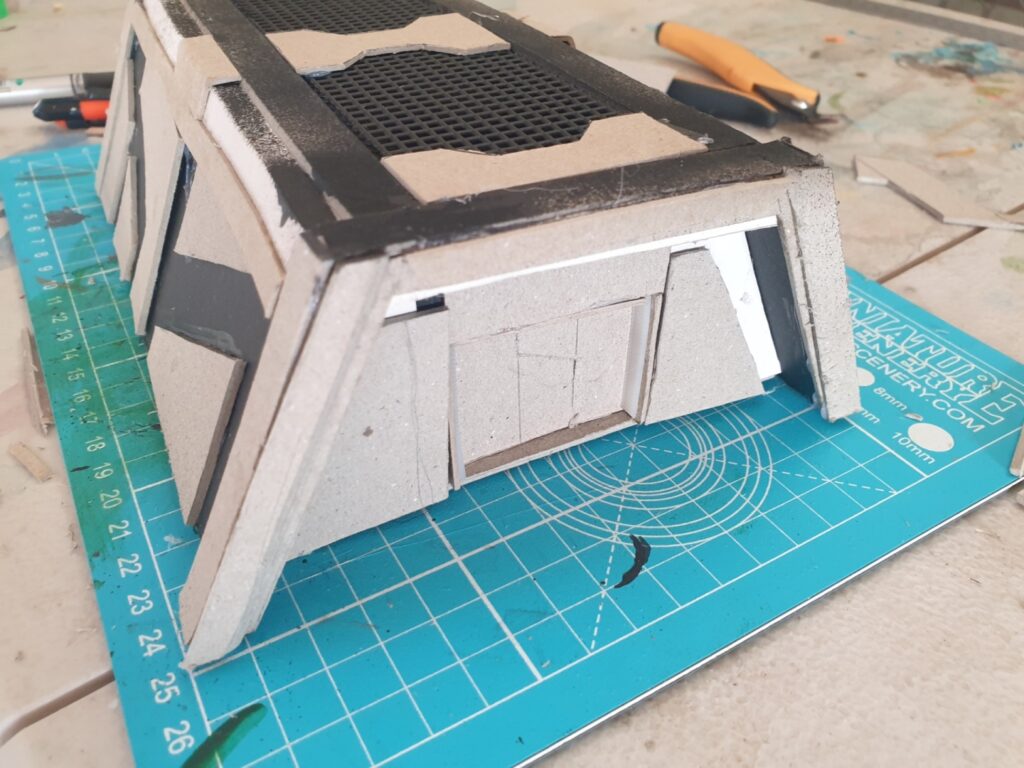
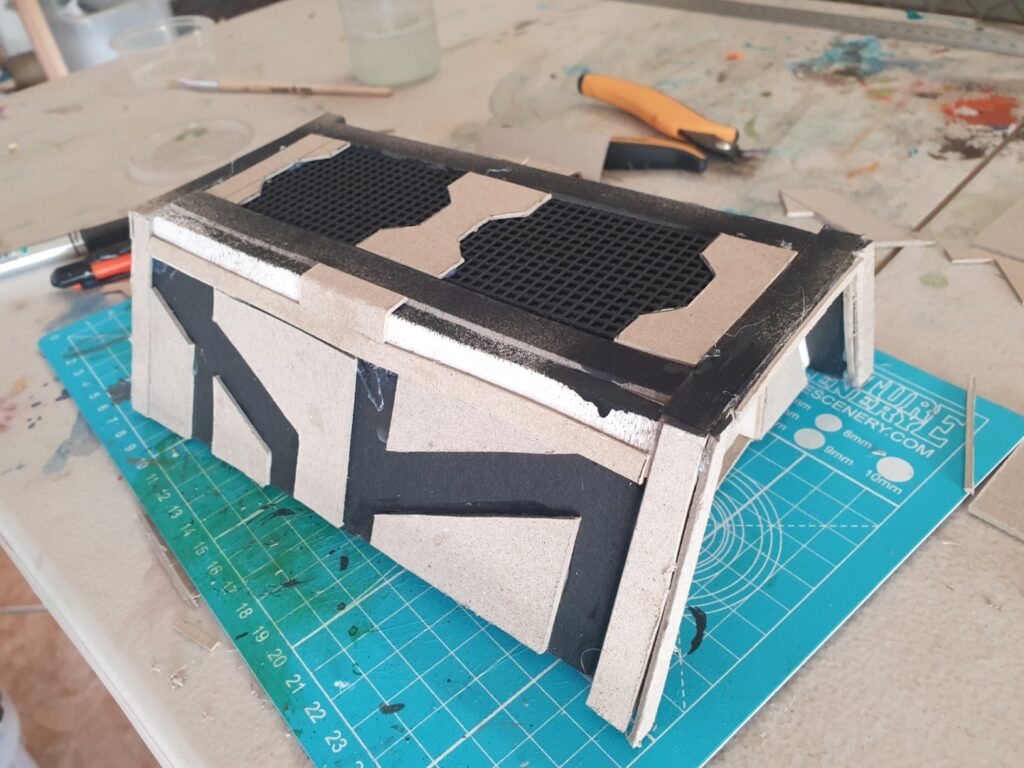
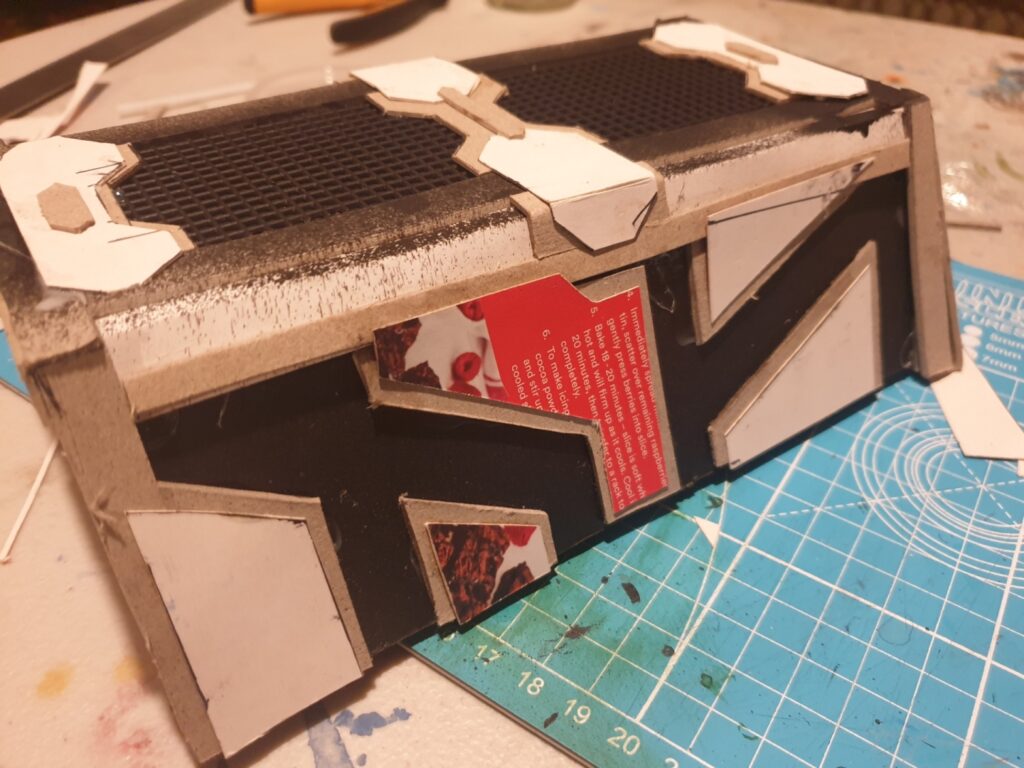
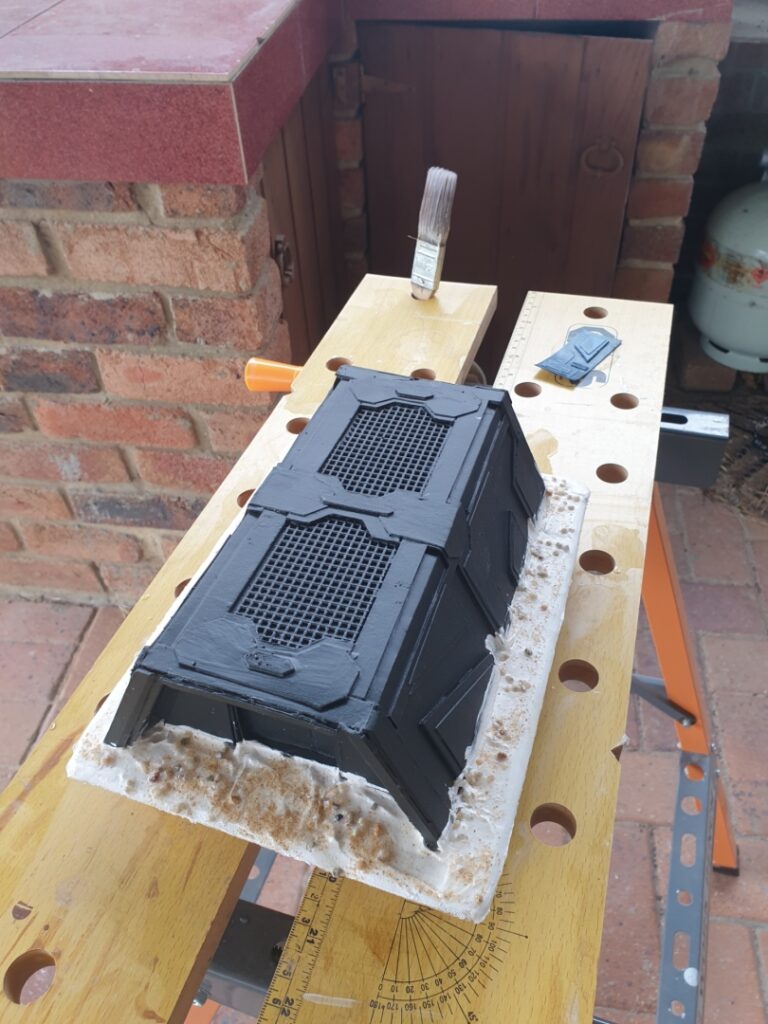
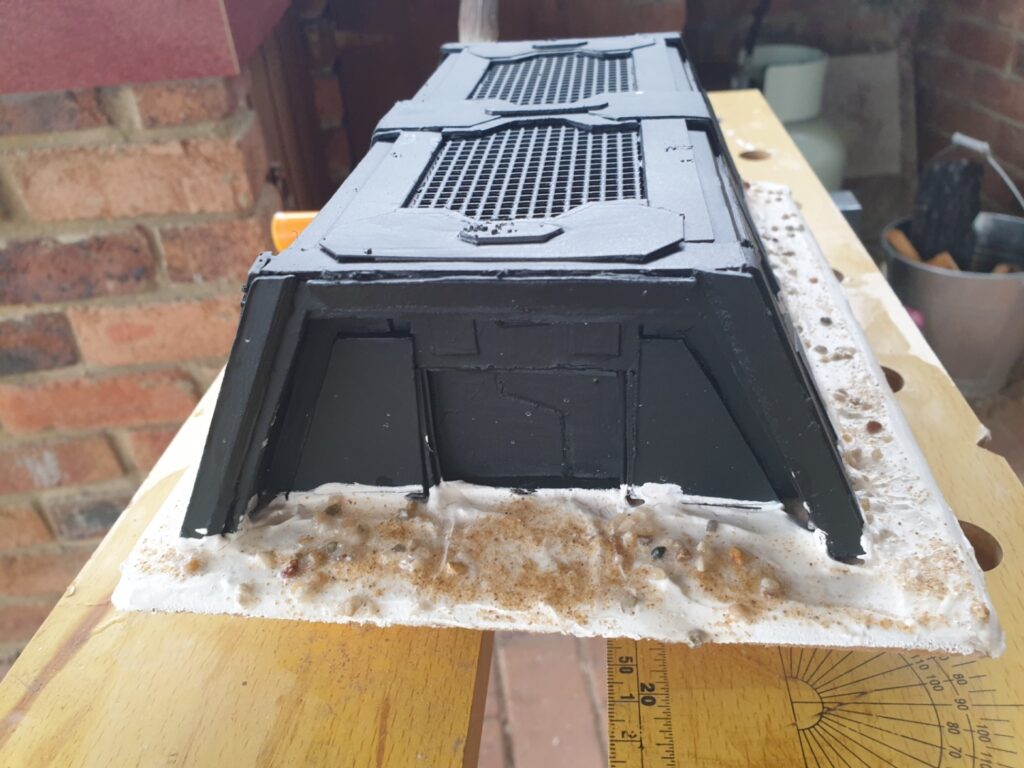
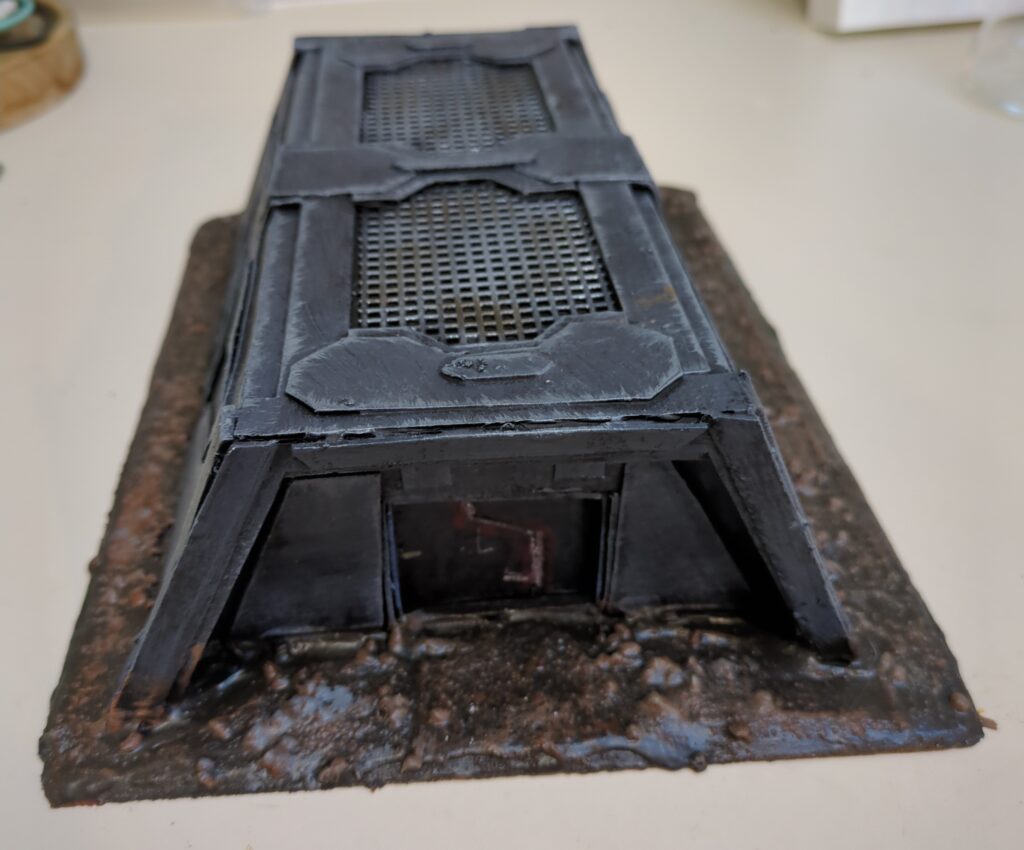
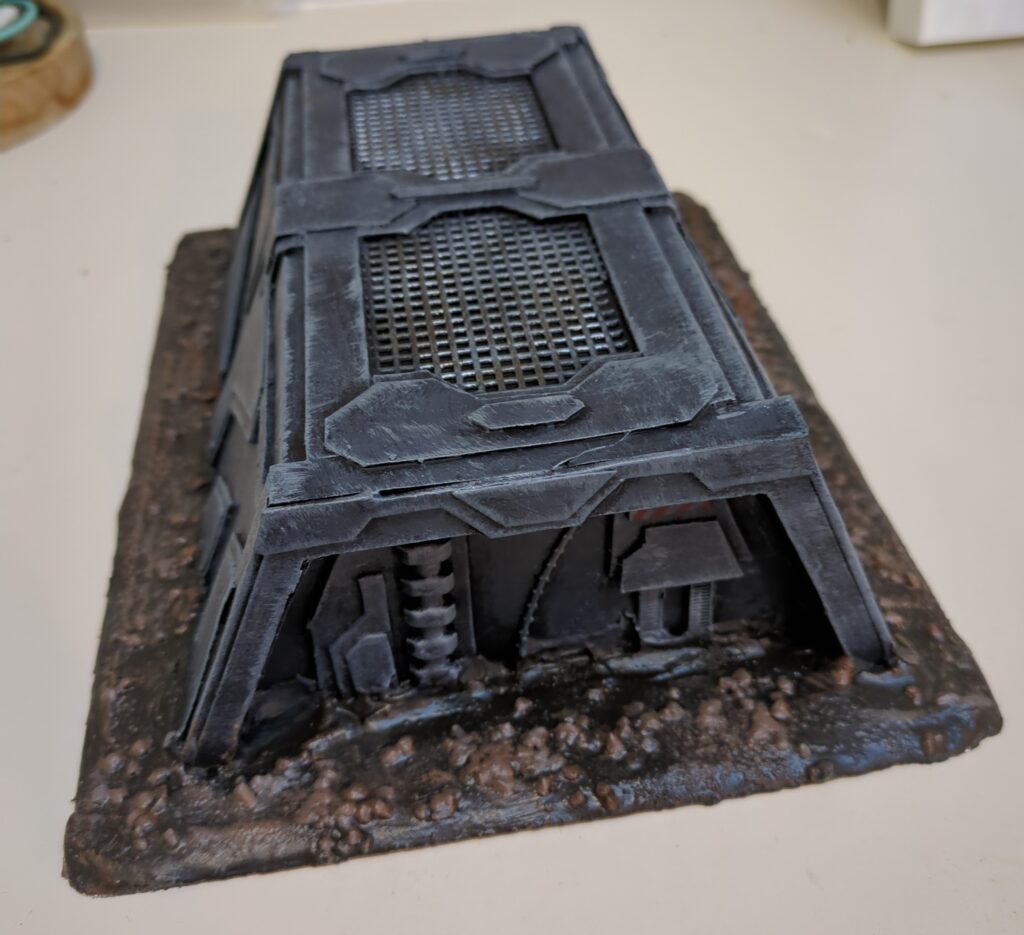
It was a simple bunker constructed using foam-core and cardboard. The construction was fairly simple and straightforward, consisting of four trapezoidal pieces of foamcore (two for the ends, and two internal ones for rigidity), and three rectangular pieces that formed the top and sides. Hot glue was used to glue the whole structure together.
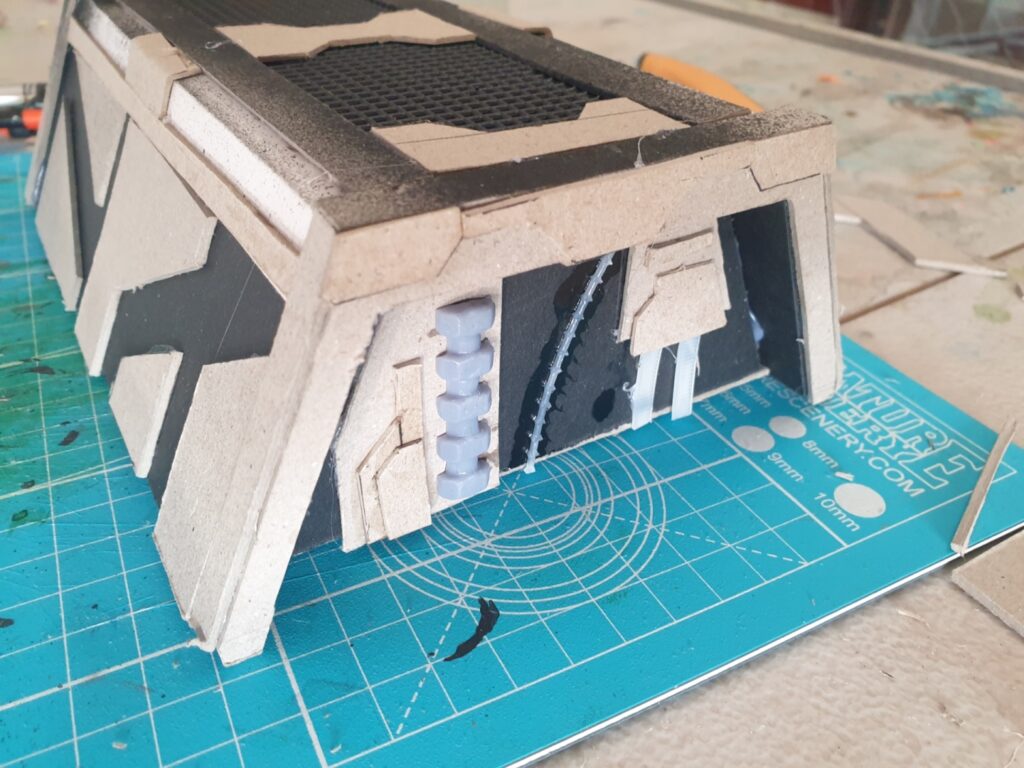
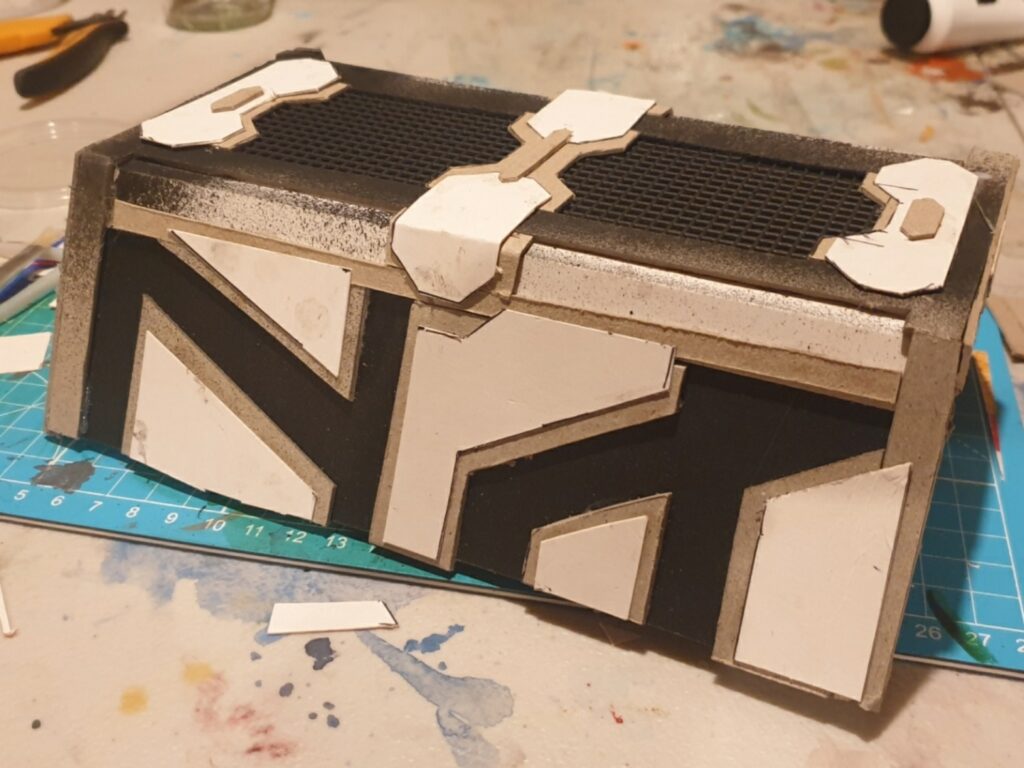
Details were then applied using some cardboard (2.4mm thick ‘box board’ sourced from an art supplies store, though if I did this again I’d use something slightly thinner because it was a pain to cut). I also used a few bits of plastic mesh to add grates to the top of the bunker, with the area under the grates being pre-painted in black before the grates went in. Some 3d printed greebles I had lying around were added, as well as a few cut up pieces of zip tie. The cardboard was mostly attached using PVA, with superglue used for the greebles.
Lastly, a second pass of detailing was applied using some thinner cardboard salvaged from an old cereal box. This added a bit more depth to many of the panels, with the aim being for that to show up well when dry-brushed later.
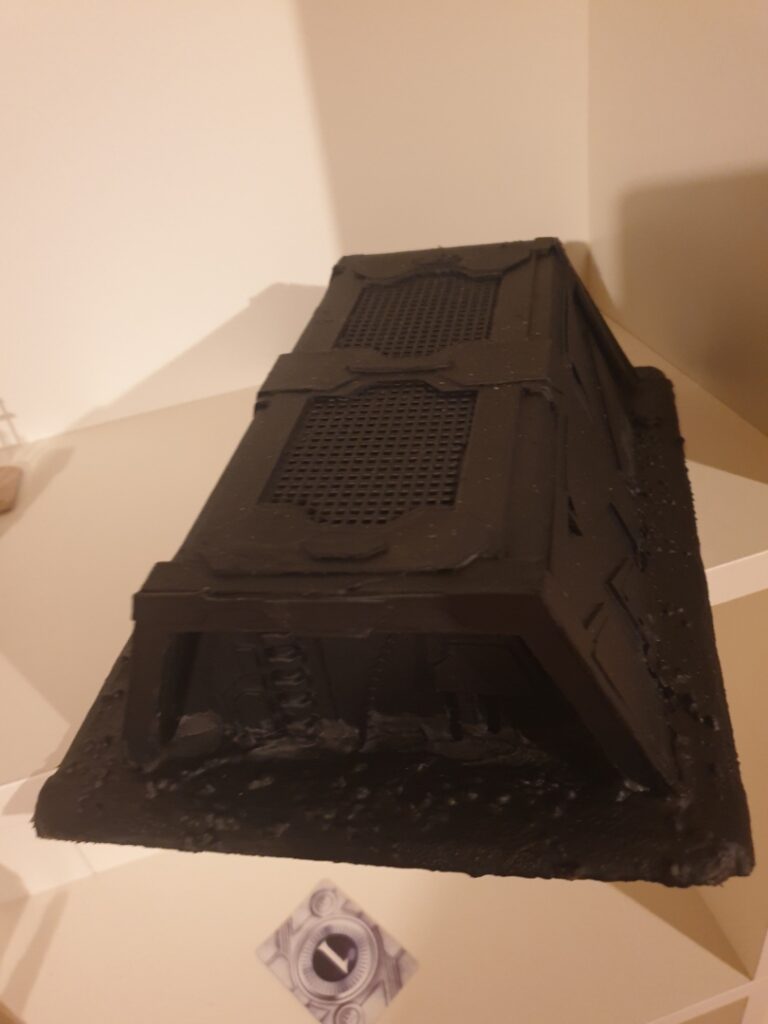
After this I coated the piece in modpodge before I undercoated it with some black spray undercoat from the local Hammerbarn1. I did this before realizing I really ought to attach it to a base. I went back and cut a base for the piece out of 6mm MDF, which I glued on to the bottom of the piece before texturing it with spackle, pebbles and sand and spraying it again.
Lastly, it was time to give it a simple paint-job. Since this is a terrain piece I used some simple craft paints. For the base coat I used a mixture of Paynes Grey and blue to get a dark, de-saturated blue. This was then overbrushed2 with a brighter de-saturated blue and washed with a simple black wash before being dry-brushed with a light grey-blue.
The grates at the top received a similar treatment with shades of grey, with a metallic silver being used for the dry brush and a little weathering using burnt umber and raw umber to add some rust.
Overall, pretty happy with this – it looks nice on the tabletop – just need to build quite a few more. The dark browns of the dirt make me think of jungles so I may have to see if I can “jungle it up” for whatever I build next for this set and try to aim for a forest moon of Endor kind of a vibe.
Ok, so it’s actually Bunnings. But I couldn’t resist the Bluey reference. ↩︎
Overbrushing is a simple technique is similar to drybrushing, but with much heavier coverage ↩︎