I’m a bit late to the party, and I only made it at all because I recently stumbled onto a new blog that referenced it, but apparently Roger over Rantings from Under The Wargames Table has thrown down the “Community Blogging Challenge“
He posted an excellent list of blogs, many of which I hadn’t previously found (really, only Azazel’s Bits Box and Wargames Terrain Workshop were already known to me. The rest have been an excellent discovery and I’ve already added them to the blogroll for people to peruse.
But now I suppose it’s time for me to give a shout out to some other cool hobby blogs I’ve encountered.
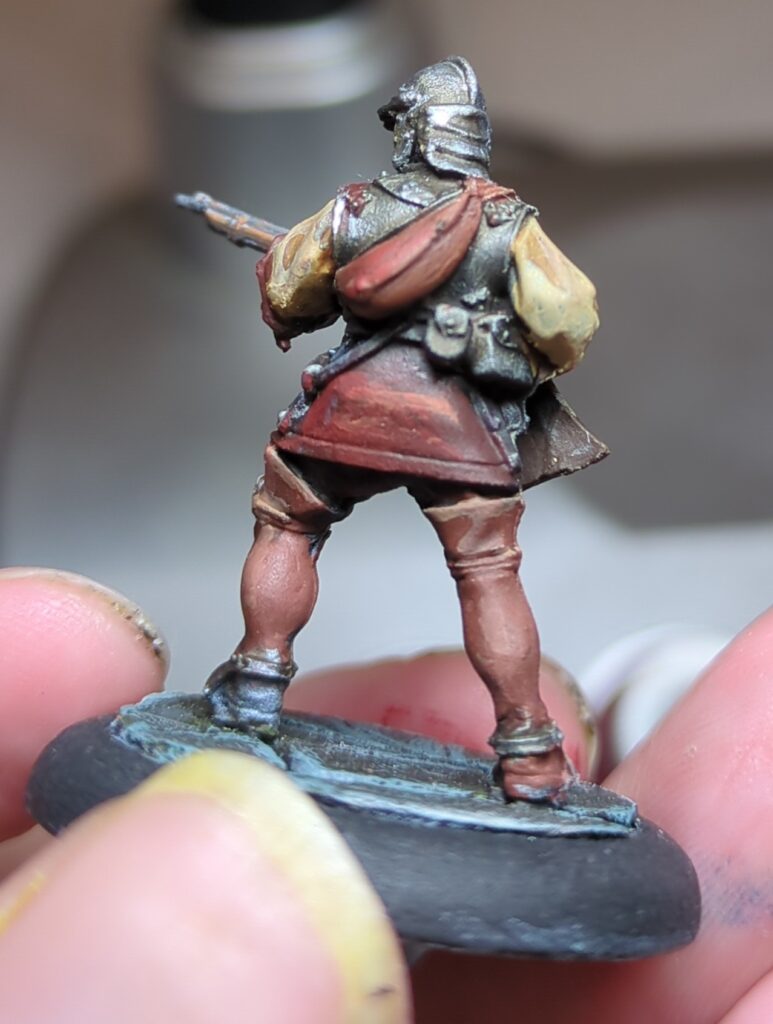
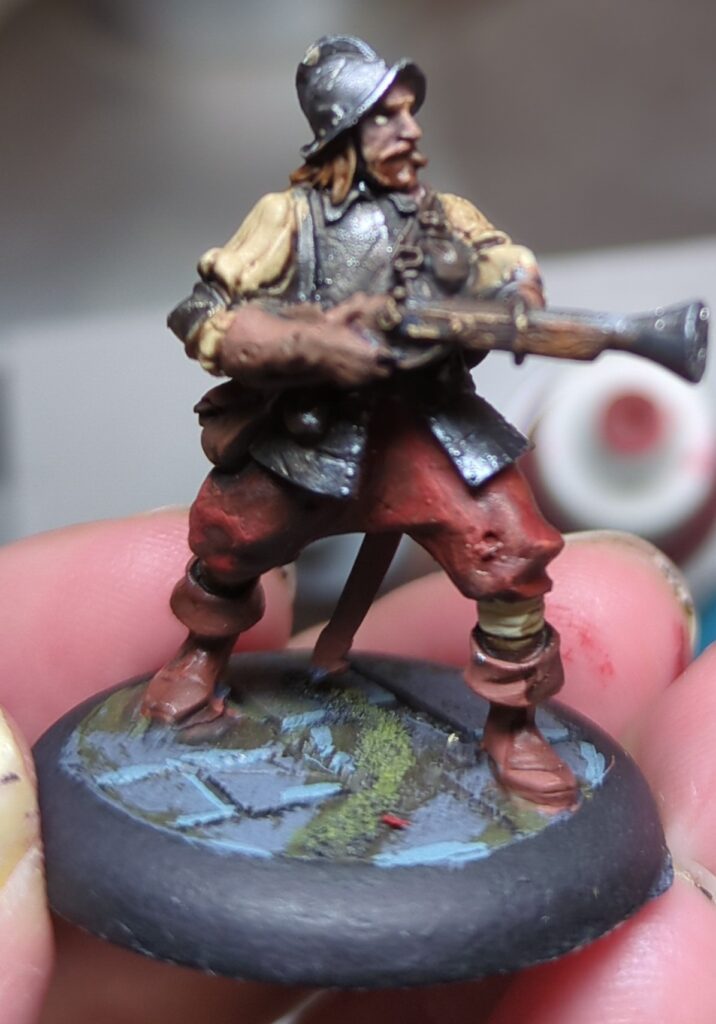
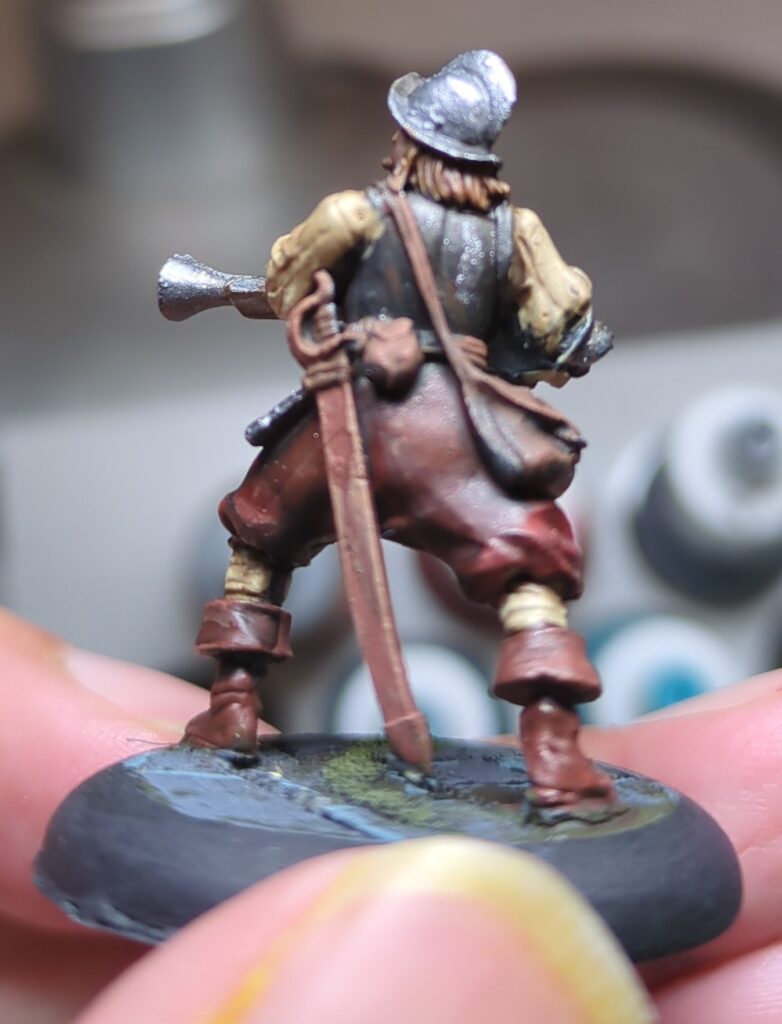
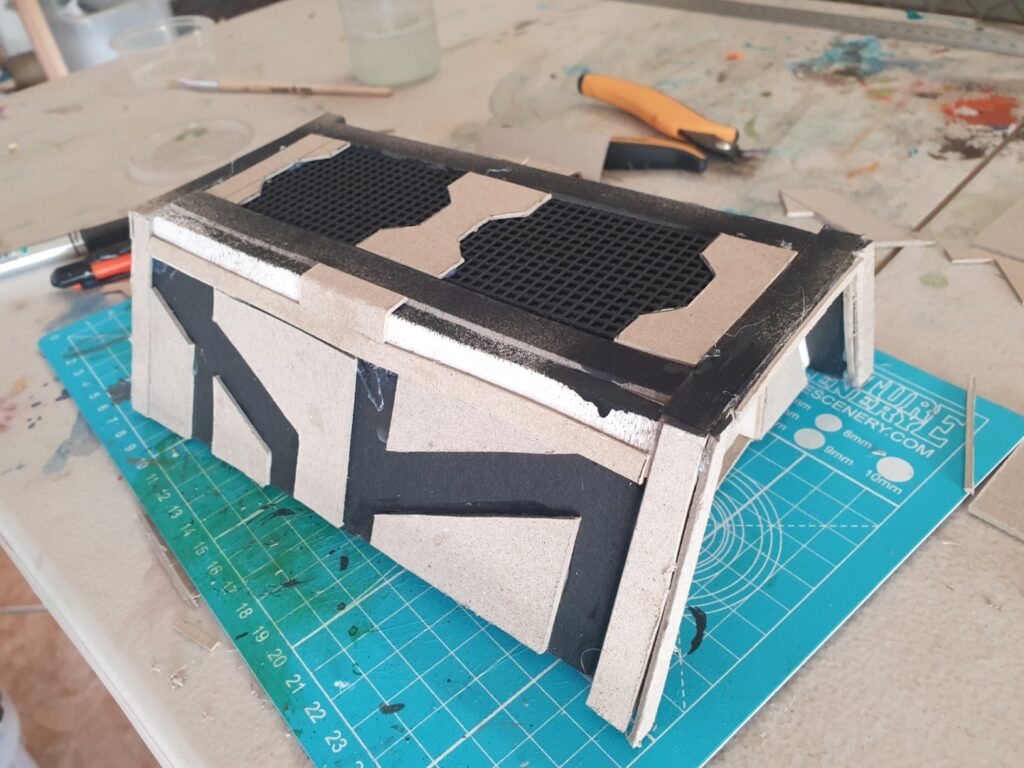
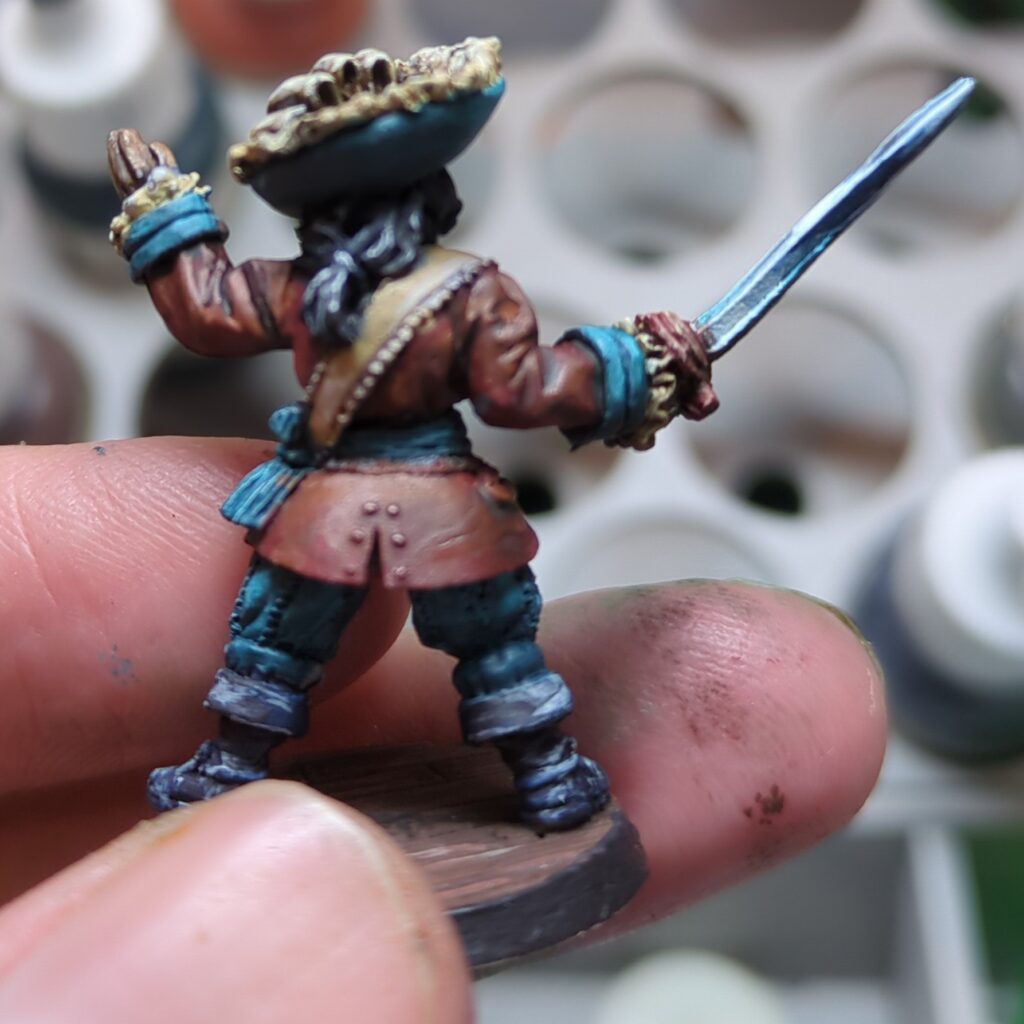
Carmen’s Fun Painty Time deserves a follow – they are infrequent posters (last post roughly June 2025) but have been at it for awhile now. Their latest few posts journal their process of scratch-building ship figurines to use on the table and make for an excellent read.
Lonely Gamer’s Blog focus on historical war-gaming (the website is also attached to their store, where they stock a lot of books and historical minis). Their content is mostly battle reports.
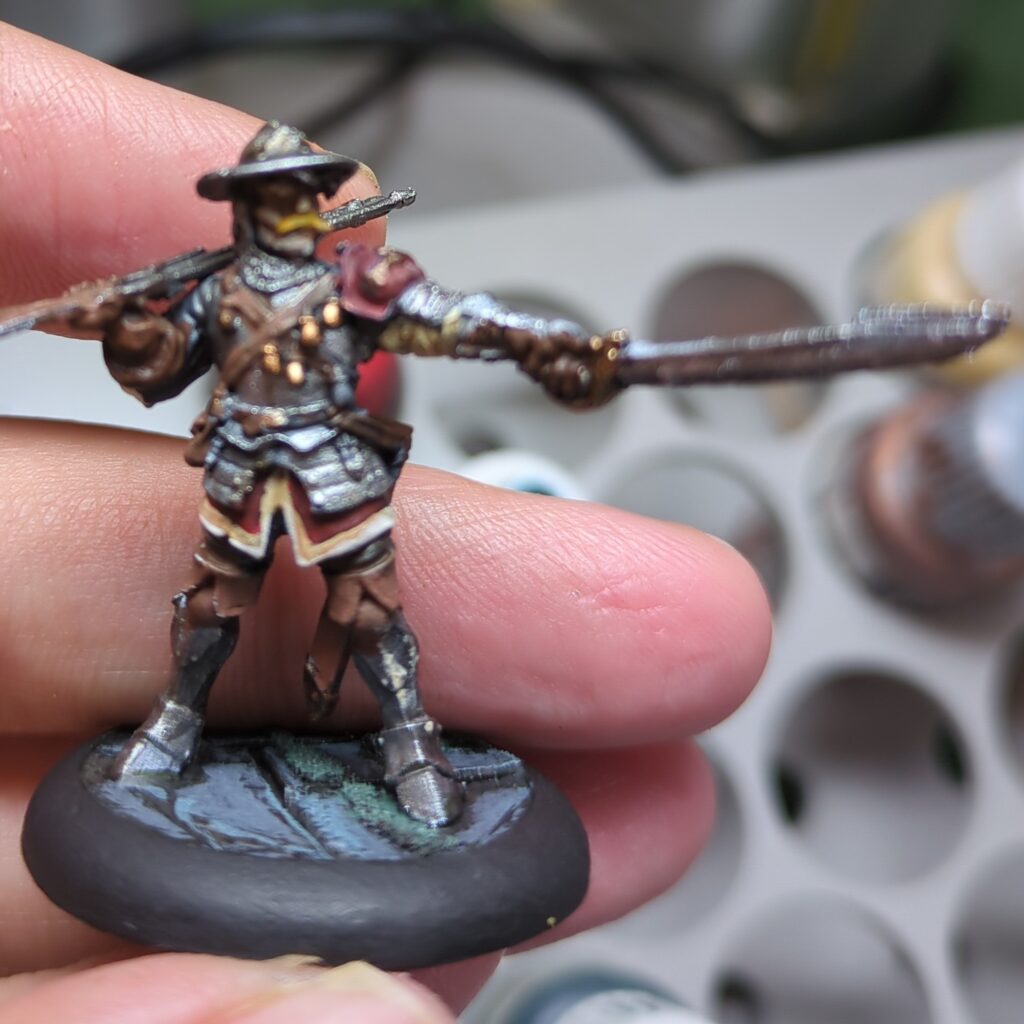
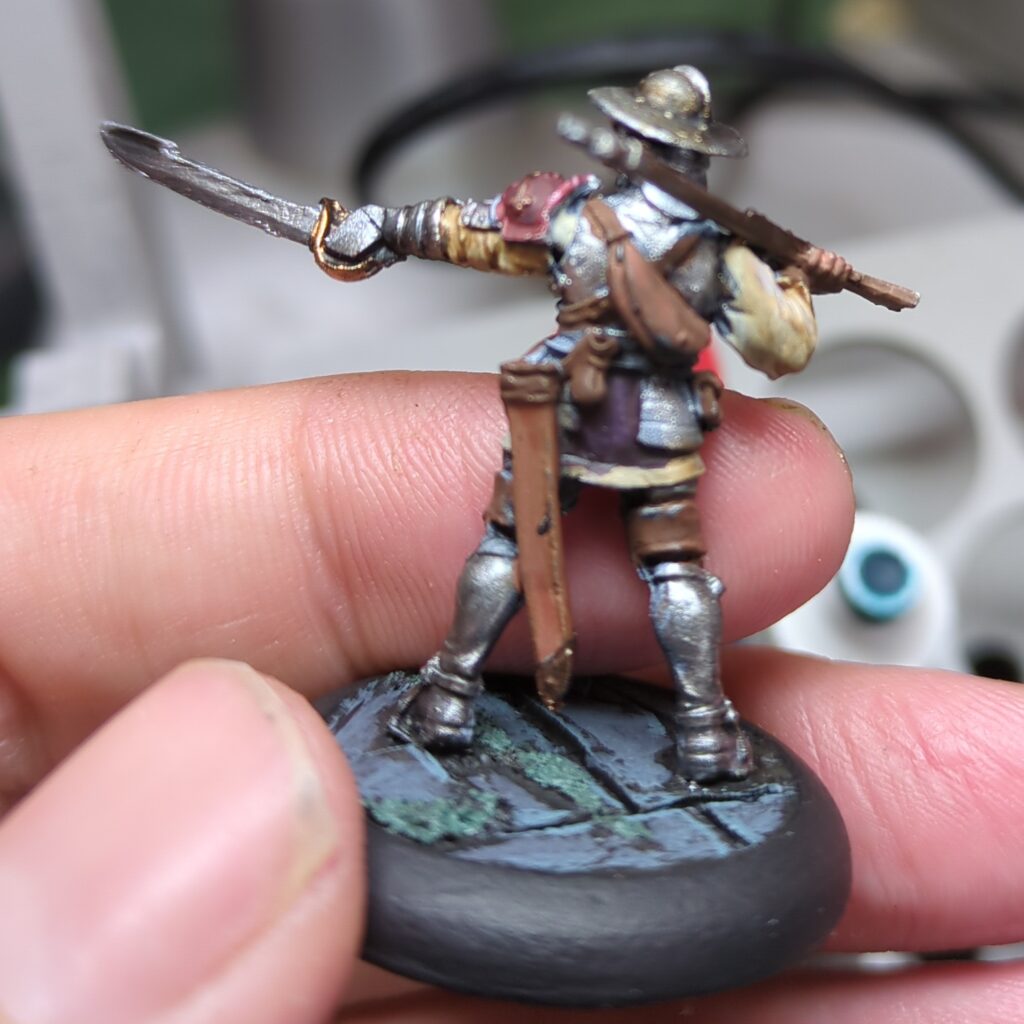
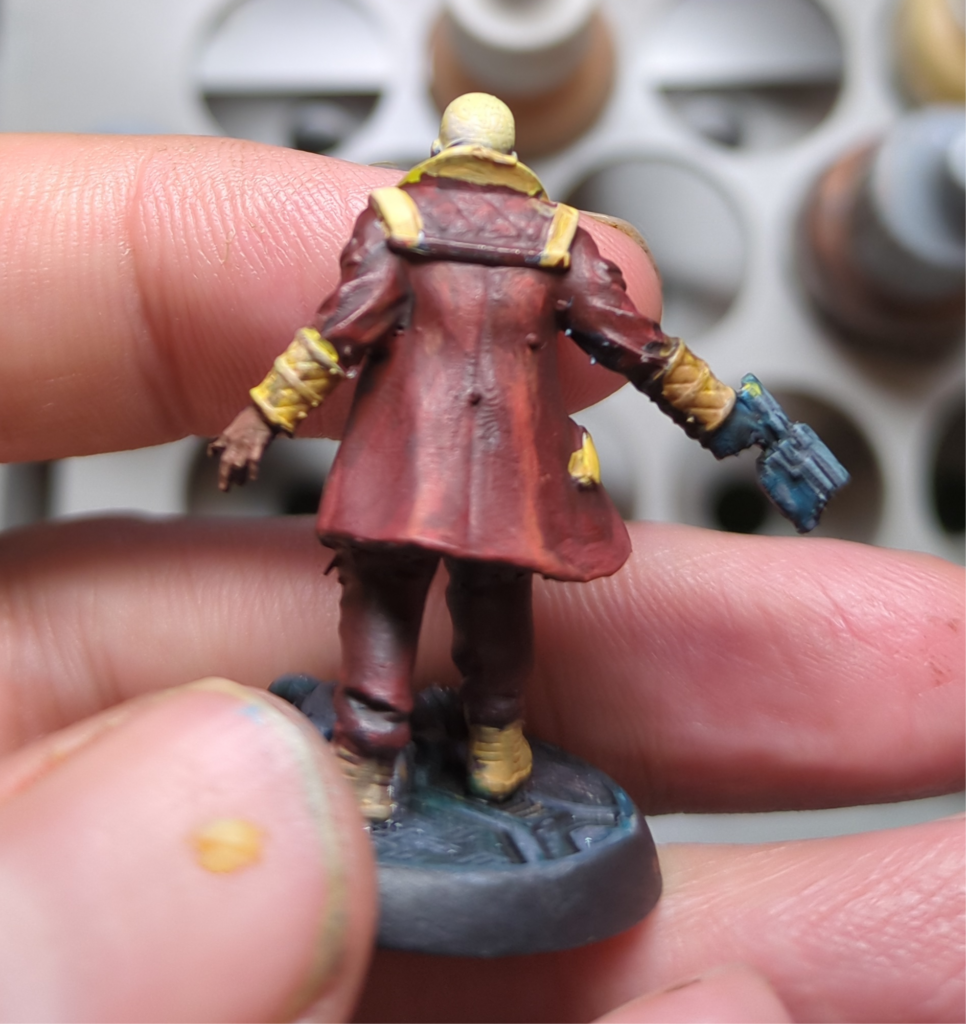
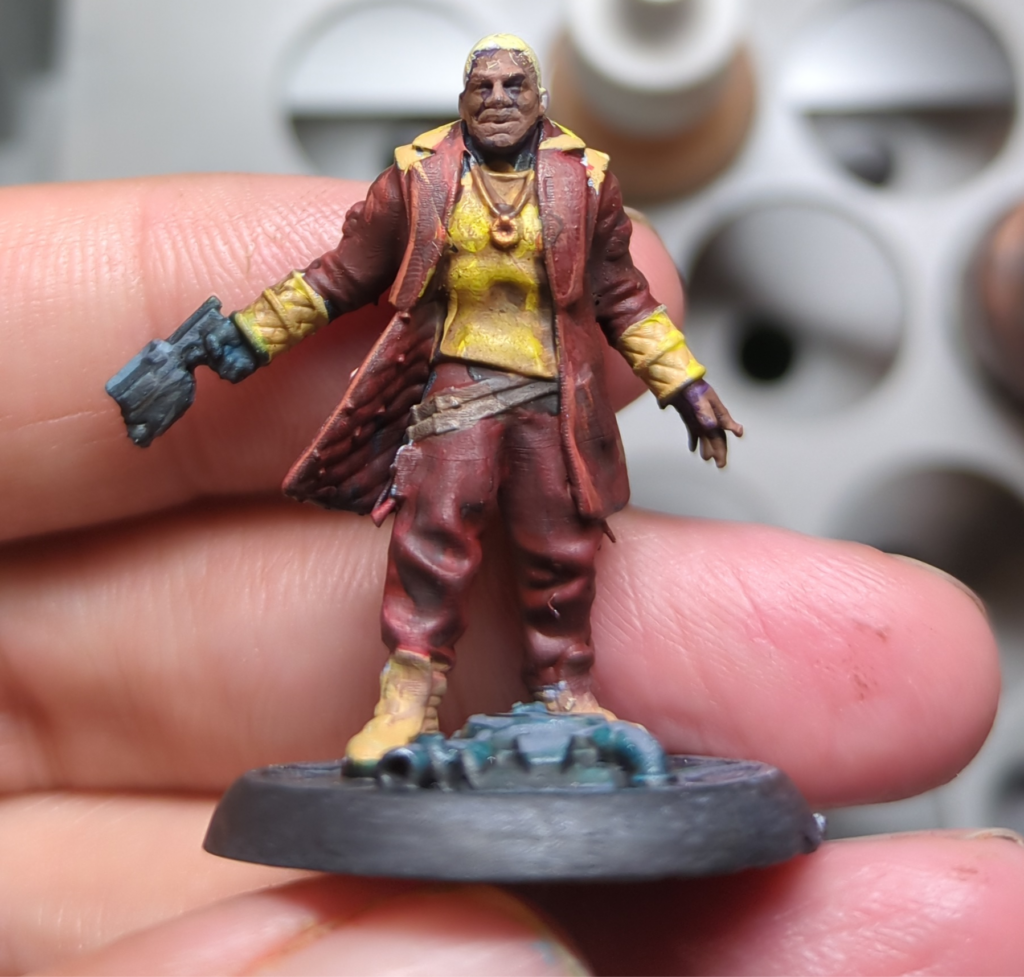
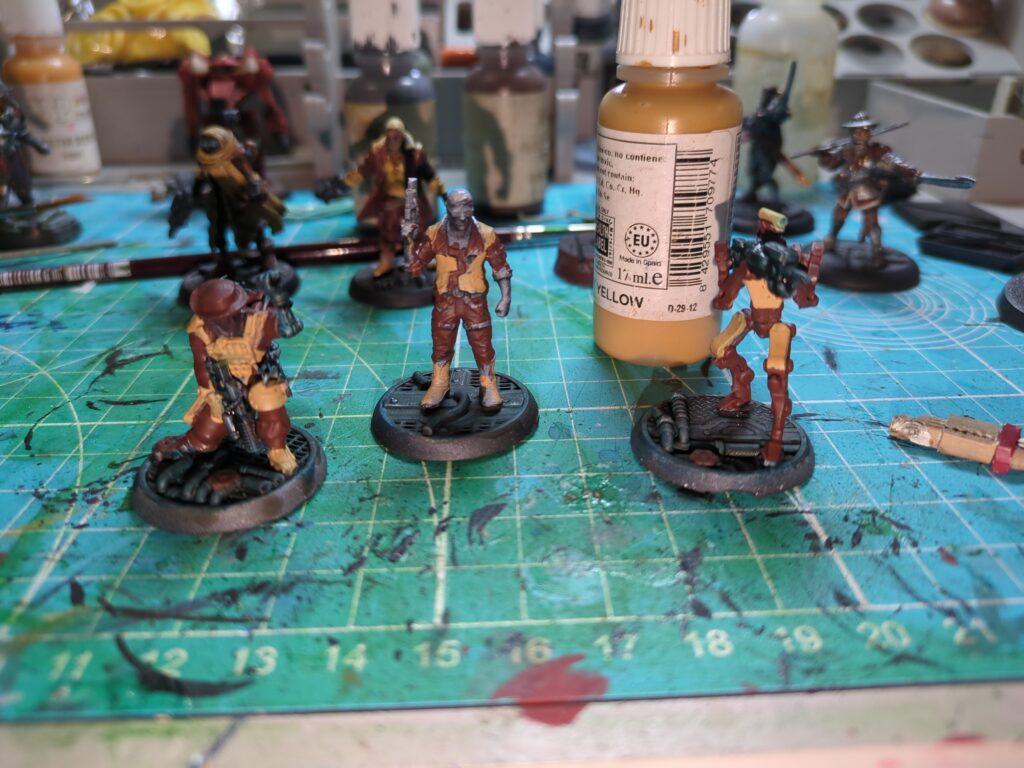
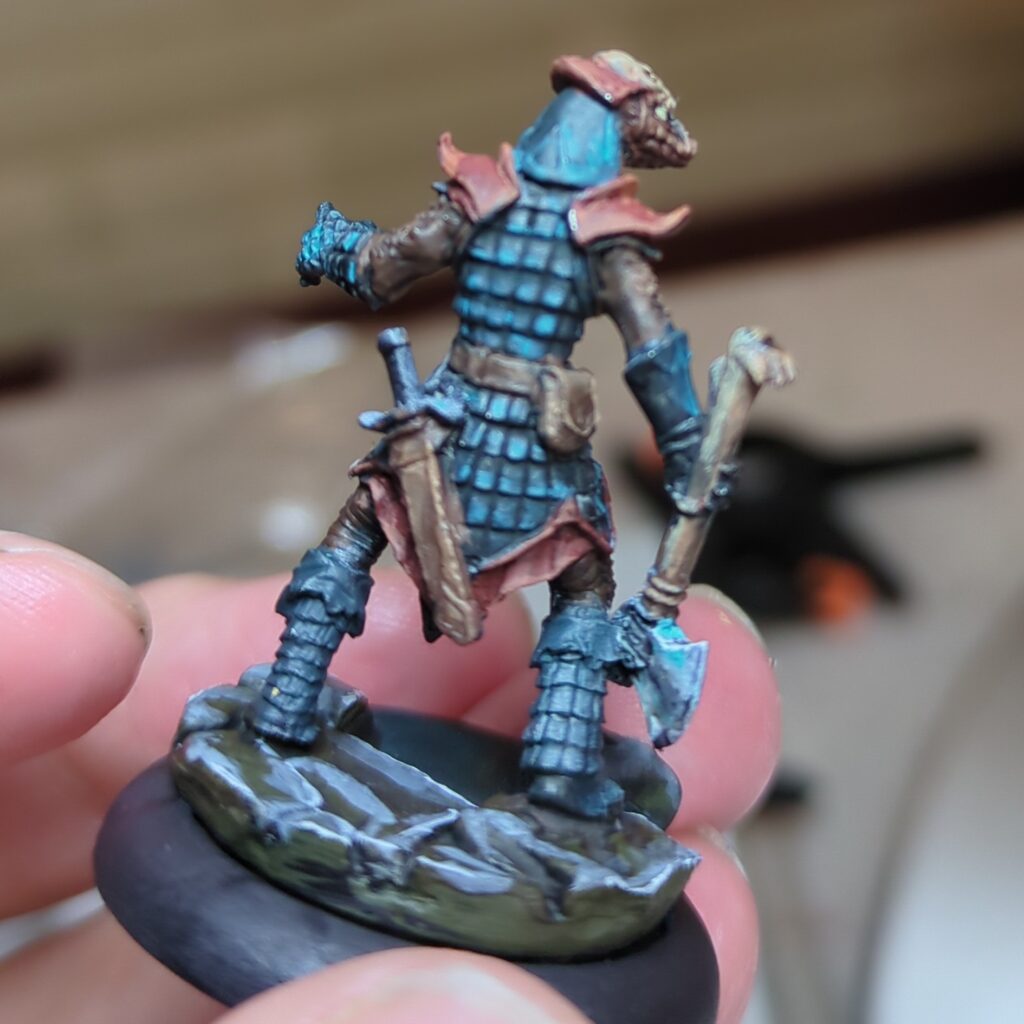
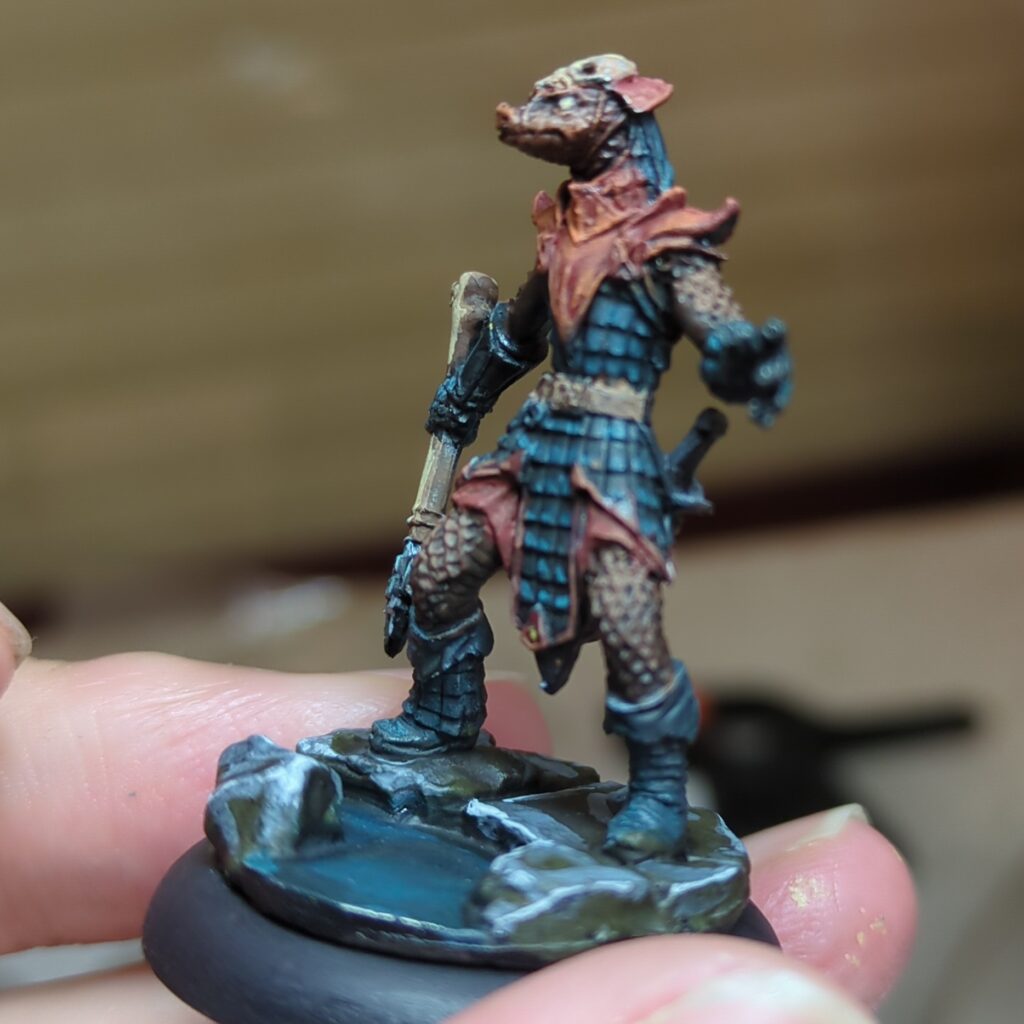
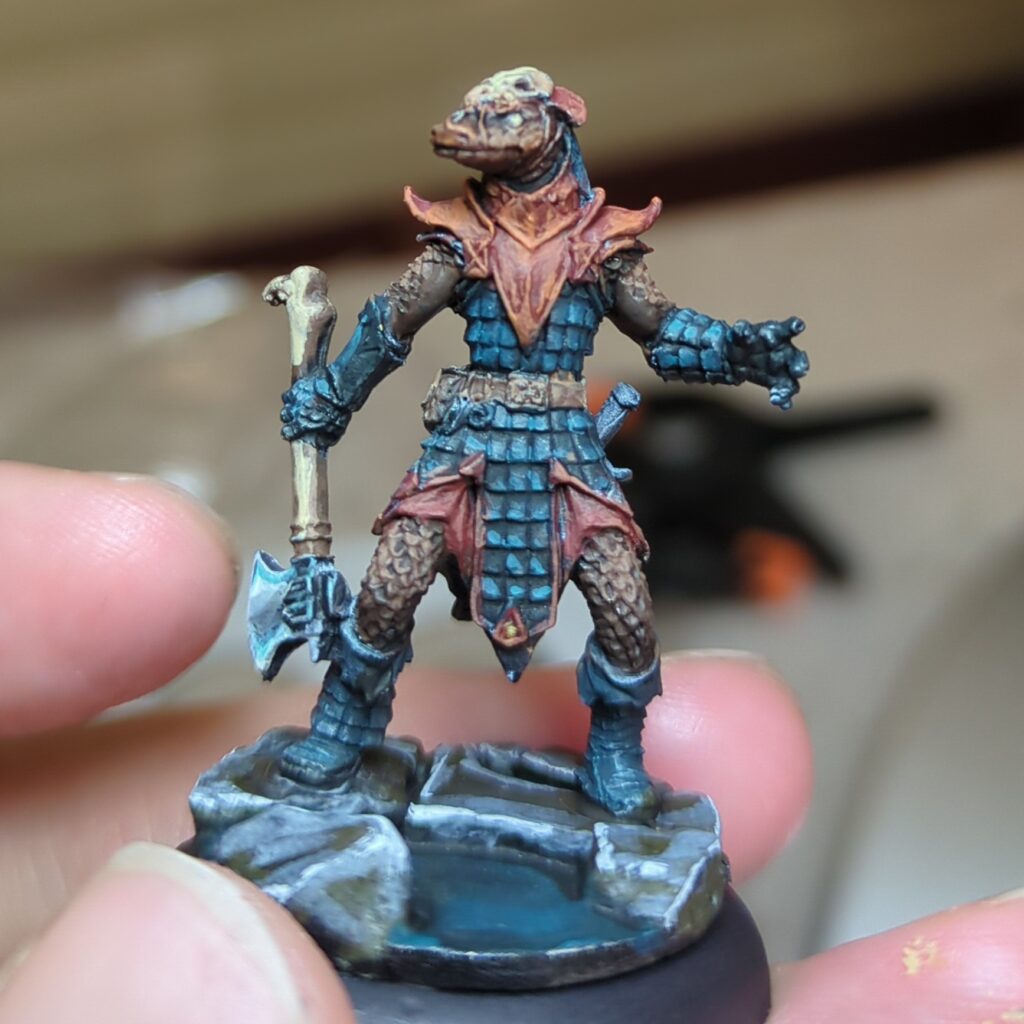
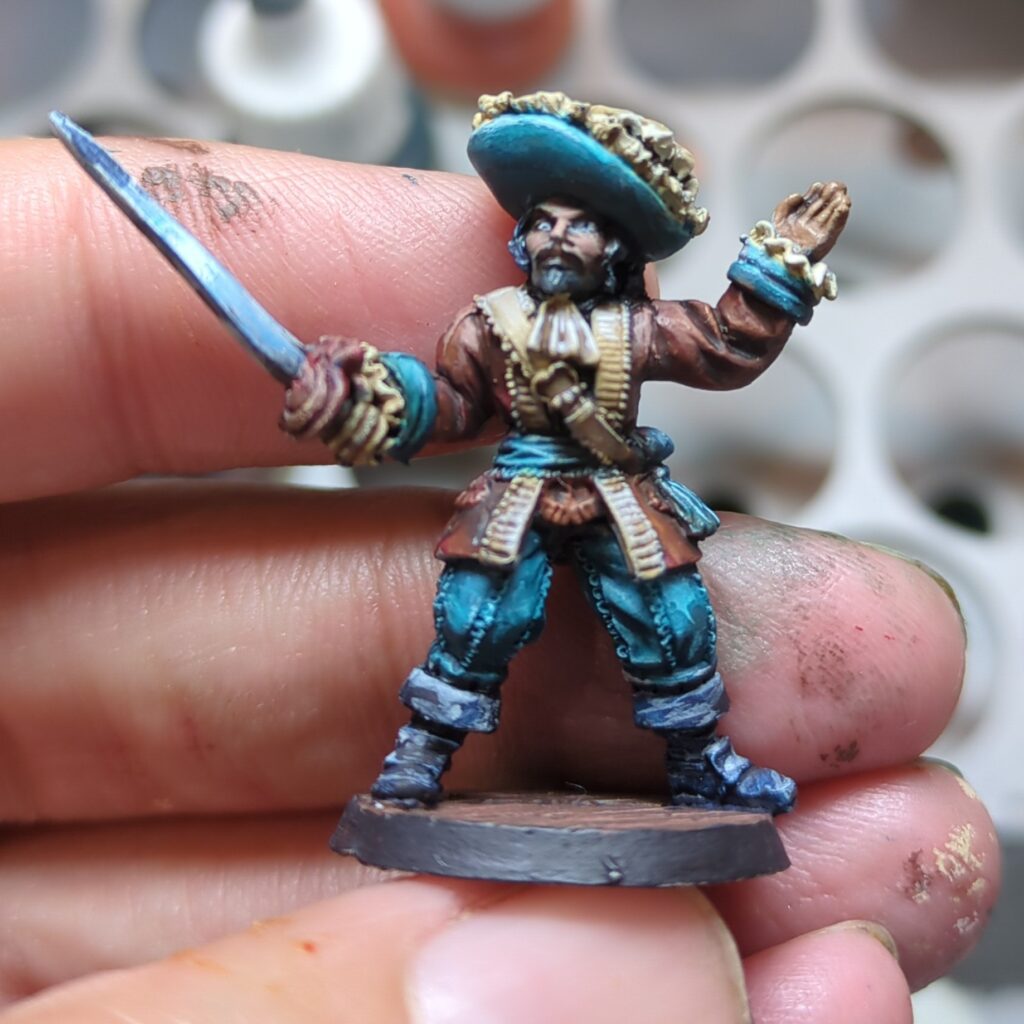
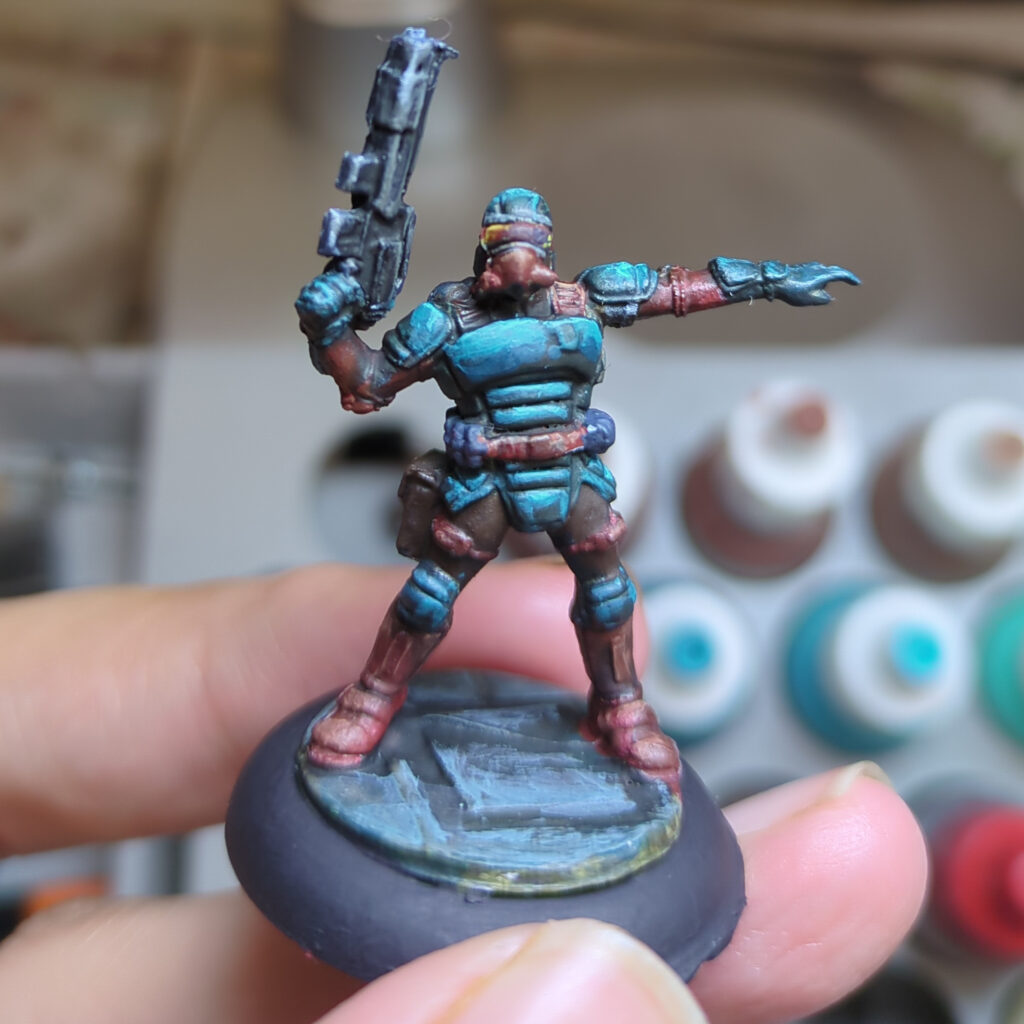
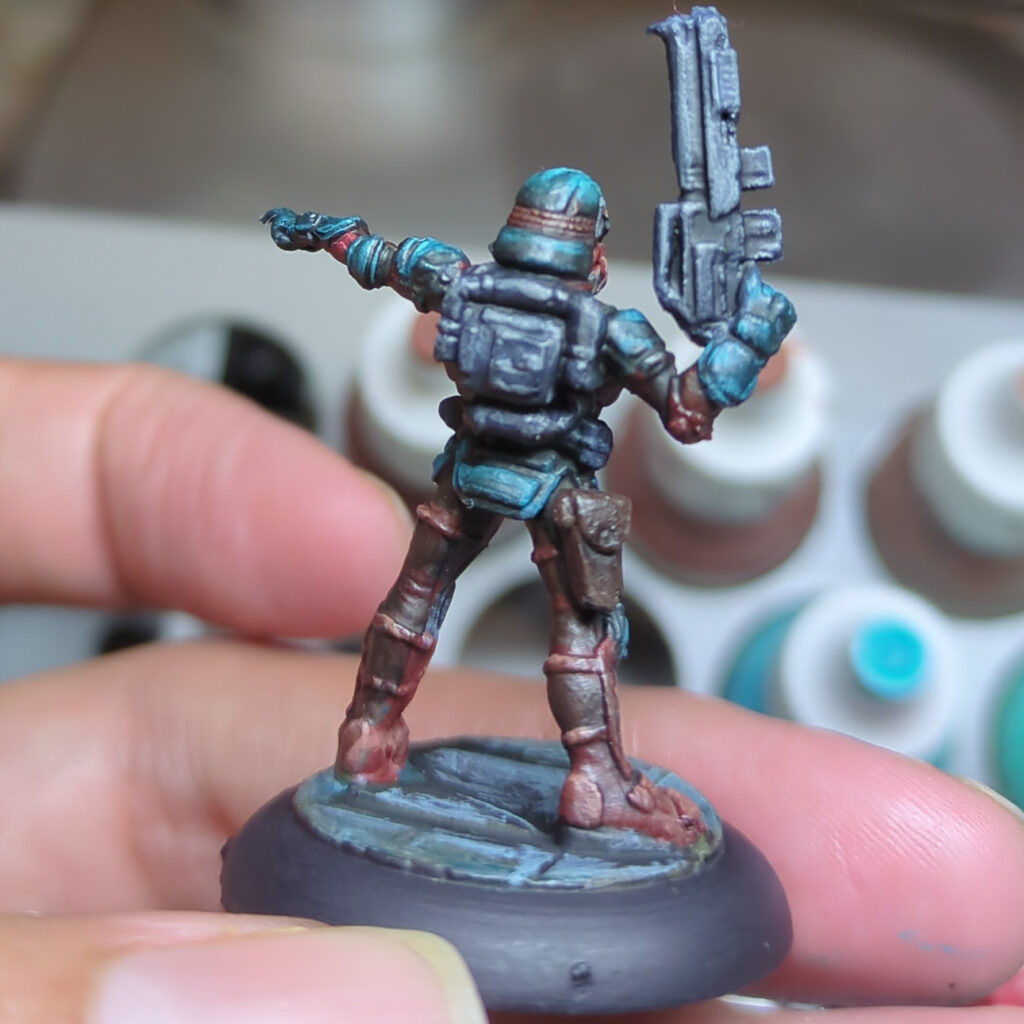
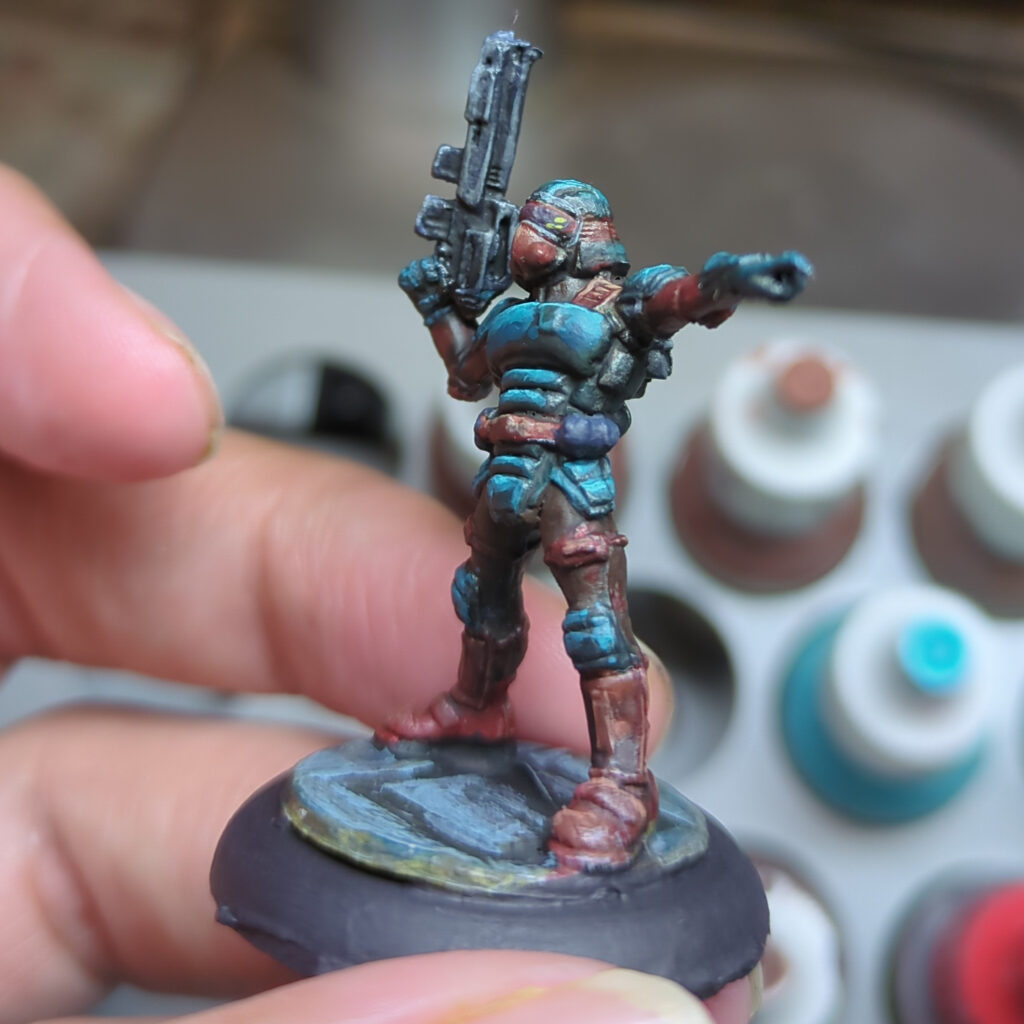
Wicked Paintah regularly posts their latest completed minis, and they’re always well done. They seem to favour a lot of Infinity and other scifi stuff.
Wyrd Fish – A newer blogger, he started out discussing the hobby community happenings over on the Fediverse1. His newer posts discuss building and painting a Mordheim warband.
Lead ‘n’ Paint – Just a guy tackling his mountain of metal / plastic and blogging about the journey.
I Am Gerard Thomas – A very game-design focused blog. No minis here, but Gerard posts about his process concocting new rulesets to play with.
Big Geordie Geek – Regularly shares their completed minis and his hobby journey. Tends to be very 40k focused.
Edit – Also adding Sad Little Men – a new blog that appears to have just launched a few days ago. No comments on his page, but lets find a way to give him a warm welcome anyhow.
I’d also like to give a shout-out to the hobby community over on the Fediverse – while it is technically not blogging, there are a lot of wonderful people there I get to interact with on the regular.
- The Fediverse is the name given to the conglomeration of Mastodon, Pixelfed and other ActivityPub based servers that forms the decentralized social web. ↩︎