Whilst the simplest and easiest way to paint the metal bits on your mini is just to use metallic paints, there’s a whole other effect you can go for using nonmetallic paints to simulate the highlights and reflections. I’ve been interested in giving it a try for awhile.
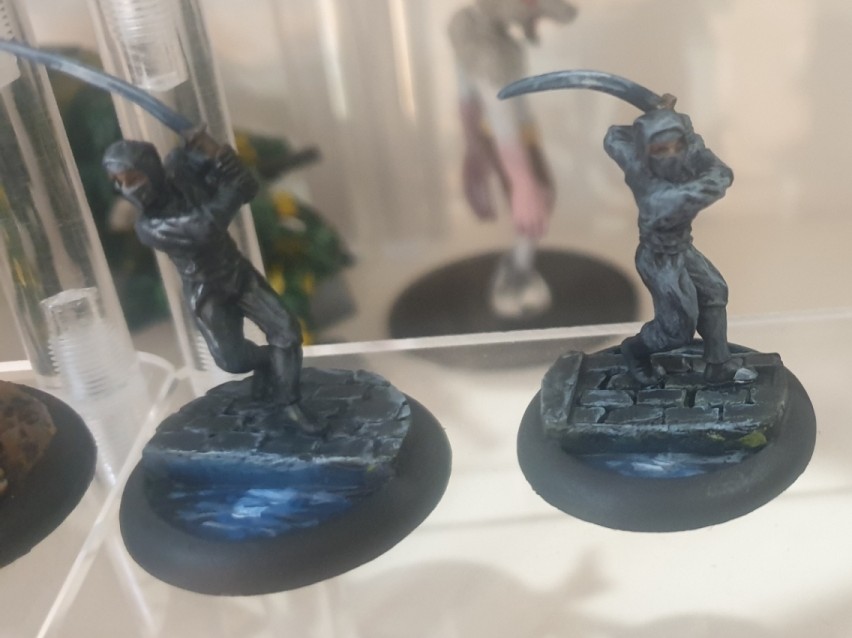
My first attempt was a couple of ninjas, painted up to look like their blades are catching the moonlight. These were good to start with as the thin katanas made it a lot easier to get a good effect.

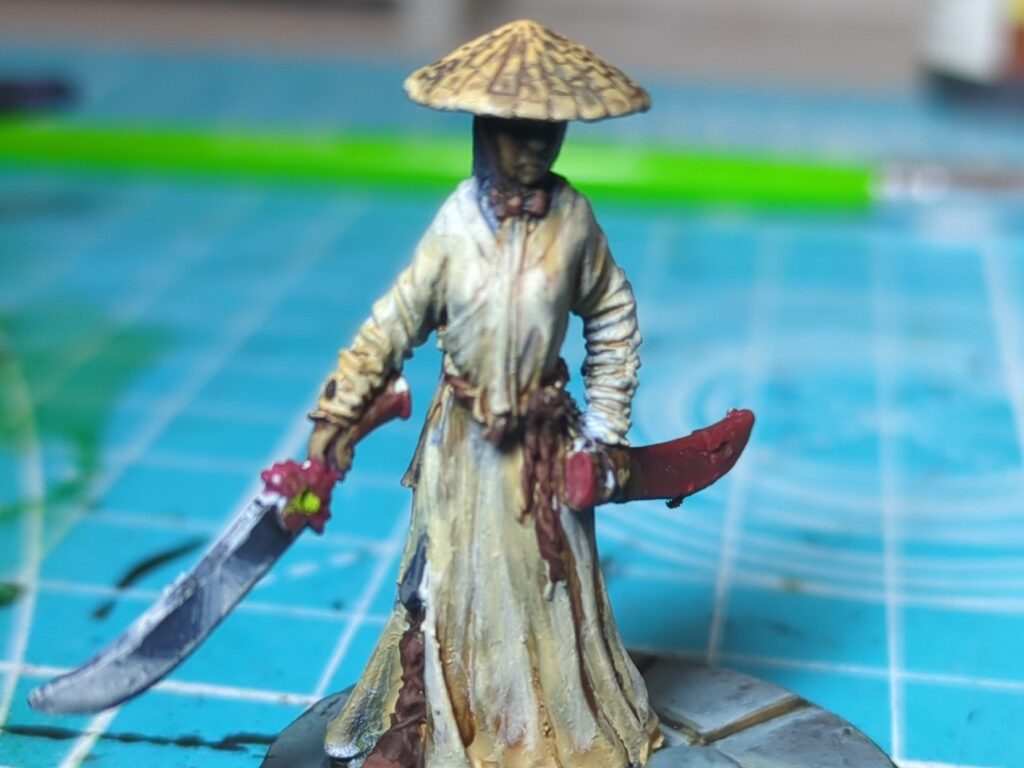
After these, my next NMM attempt kept the same theme but had a slightly larger surface to work on. For this attempt I focussed mainly on getting the right “shapes” and ensuring there was plenty of contrast. The final result is a bit rough – it looks good at a distance but is a bit messy when inspected more closely.

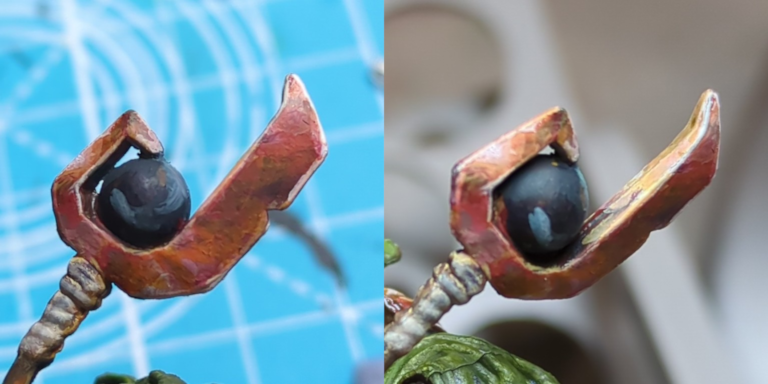
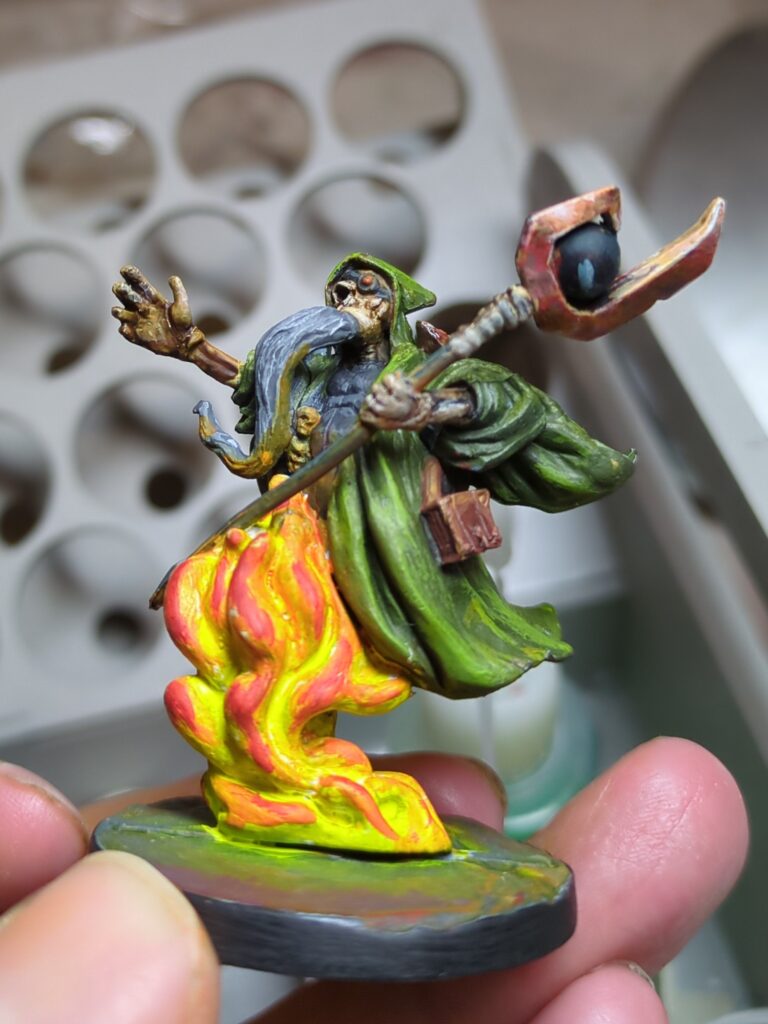
For attempt #3, I went with a more of a bronze/copper hue, painting both the weapon and the shoulder pads of a lich. My colour plan for this (based on Vince Venturella’s Copper NMM guide) involved using the following four colours:
- Vallejo Game Colour Charred Brown (#72.045)
- Reaper Master Series Gory Red (#09278)
- Reaper Master Series New Copper (#09306)
- Reaper Master Series Maggot Green (#09282)
This kind of worked out ok, but the very pinkish hue of the New Copper looked a bit wrong, so I wound up using a thin glaze of RMS Explosion Orange (#09219) to bring back more of a red and yellow hue. My first attempt looked alright, if a bit muddy, but I wasn’t completely happy with it. I then went back in and worked on bumping the contrast up a notch, which delivered a much better result.

This is definitely just the start of my NMM journey, but so far there’s a few key lessons I can share.
- It will look terrible right up to near the end, when it will start to look good (even then, it looks its best from a distance).
- After you’ve placed your highlights expect to go back and forth repainting bits until it looks right.
